
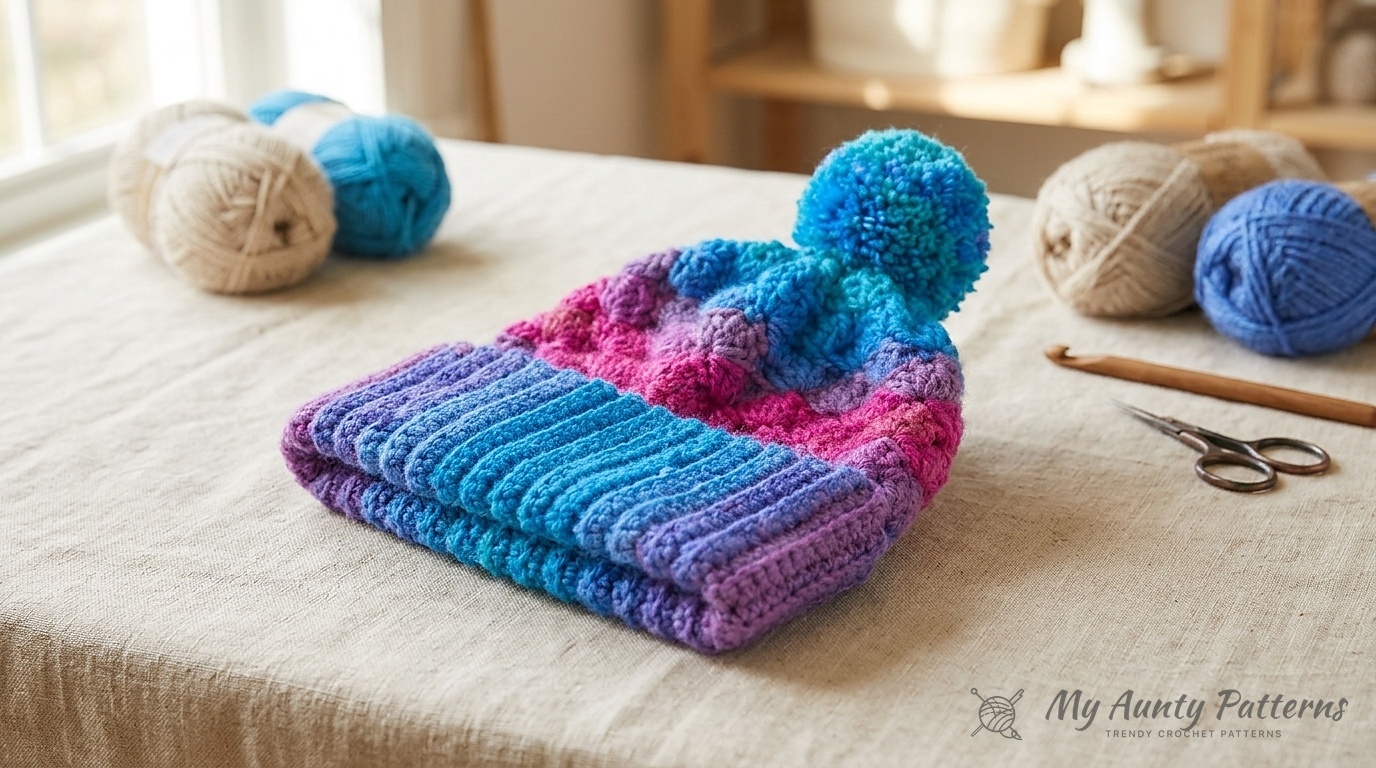
Self-striping worsted yarn really shines when you pair it with a stitch pattern that turns straight horizontal color changes into undulating waves. The Stripy Shell Stitch Ribbed Brim Crochet Hat starts with a stretchy 20-stitch back-loop single crochet (scbl) folded cuff worked flat for 19.5", then picks up 72 stitches around the edge to work 12 columns of 5-double-crochet shells in turned rounds before tapering the crown over 4 neat decrease rounds.
Quick Pattern Specifications
- Skill Level: Easy (Ribbed Cuff + Turned 5-Dc Shell Rounds)
- Yarn Weight: Medium Worsted (#4) — Red Heart® Super Saver® Stripes™ (100% Acrylic; 5 oz / 141 g; 236 yds / 215 m per skein)
- Featured Colorway: Polo Stripe (4969) — 1 ball makes the complete hat + pompom
- Hook Size: Size U.S. H/8 (5.0 mm) crochet hook (or size needed to obtain gauge)
- Gauge: 2.5 shells and 7 rows = 4″ [10 cm] in Shell Stitch Pattern
- Finished Size: One Size to fit average Adult head (21″–23″ / 53.5–58.5 cm circumference)
- Construction: Flat ribbed cuff seamed into a ring, followed by bottom-up turned rounds and a 4-round shaped crown
Why Turning at the End of Each Shell Round Matters
When you work shell stitch in unturned spirals, the tops of the 5-dc fans naturally lean slightly in one direction, causing the vertical columns to twist around the hat. By joining with a slip stitch and turning at the end of every round, each shell fan stacks centered above the anchor stitch below and keeps the back seam completely vertical.
Materials & Custom Hat Sizing Table
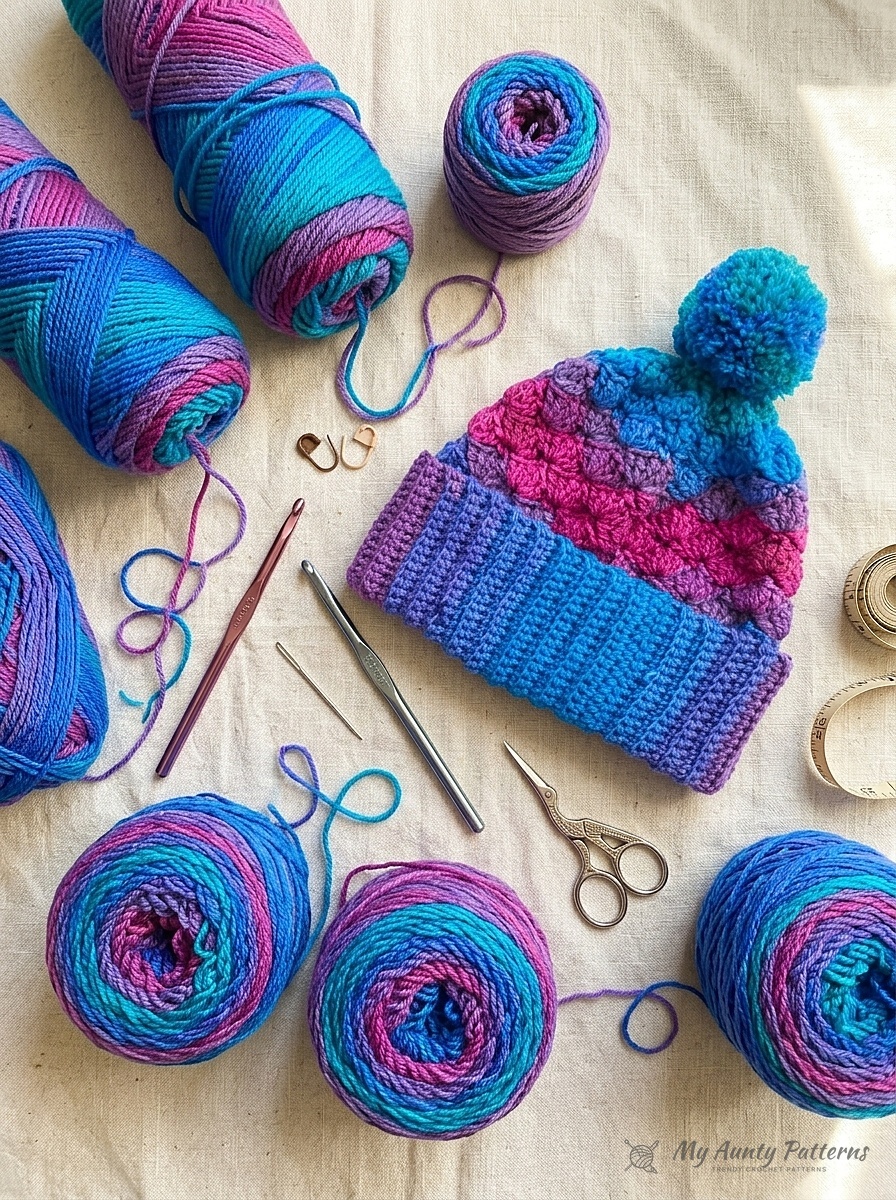
- Yarn: 1 ball of Red Heart® Super Saver® Stripes™ (#4 Worsted) in Polo Stripe (4969).
- Crochet Hook: Size U.S. H/8 (5.0 mm) crochet hook.
- Notions: Yarn needle, scissors, and cardboard or pompom maker for the 3″ [7.5 cm] pompom.
Because each 5-dc shell repeat requires 6 stitches around the brim, you can easily adapt the hat for kids or larger adults:
| Hat Size | Head Circumference | Ribbed Brim Length | Round 1 Sc Pickup (Multiple of 6) | 5-Dc Shells Around |
|---|---|---|---|---|
| Toddler (1–3 yrs) | 18″–19″ (45.5–48 cm) | 16″ [40.5 cm] | 60 sc | 10 shells |
| Child / Youth | 19.5″–20.5″ (49.5–52 cm) | 17.5″ [44.5 cm] | 66 sc | 11 shells |
| Adult Medium (Pattern) | 21″–22.5″ (53.5–57 cm) | 19.5″ [49.5 cm] | 72 sc | 12 shells |
| Adult Large | 23″–24″ (58.5–61 cm) | 21″ [53.5 cm] | 78 sc | 13 shells |
Abbreviations (US Crochet Terms)
- Ch = Chain(s)
- Dc = Double crochet
- Rep = Repeat
- Rnd(s) = Round(s)
- RS = Right side
- Sc = Single crochet
- Scbl = Single crochet in back loop only
- Sl st = Slip stitch
- St(s) = Stitch(es)
- WS = Wrong side
Step-by-Step Crochet Instructions
Part 1: Folded Ribbed Brim
- Foundation Chain: Ch 21.
- Row 1 (RS): Work 1 sc in 2nd ch from hook. Work 1 sc in each ch to end of chain. Turn. (20 sc)
- Row 2: Ch 1. Work 1 scbl in each sc across to end of row. Turn. (20 scbl)
- Repeat for Ribbing: Repeat Row 2 until the ribbed strip, when slightly stretched, measures 19.5″ [49.5 cm], ending on a WS row. Do not fasten off.
- Join Brim into a Ring: Ch 1. Fold the foundation chain edge up to meet the working row. Working through both thicknesses (the back loop of the last row and the remaining loop of the foundation chain),
sl stin each stitch across to seam the brim into a tube. Do not fasten off.
Part 2: Shell Stitch Body
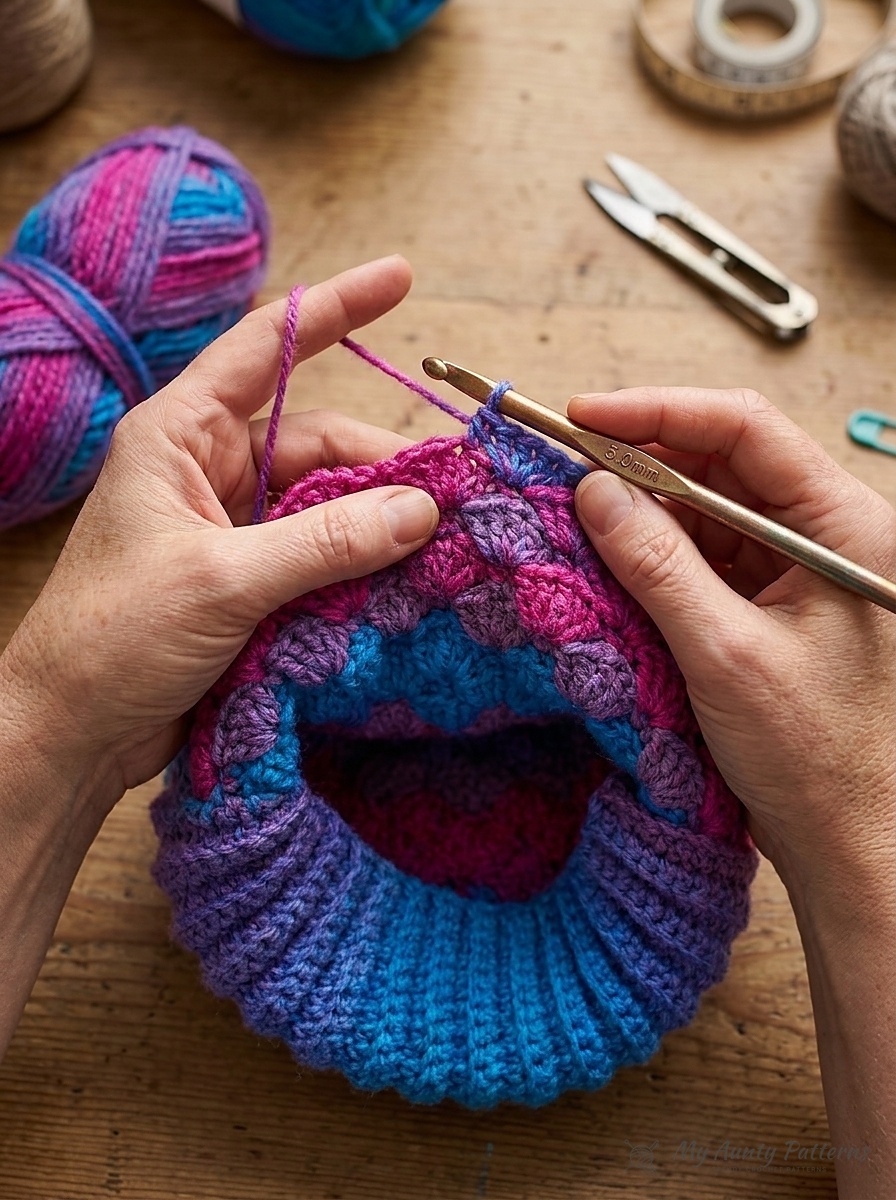
- Round 1 (RS – Pickup Round): Turn so RS is facing for working along the side edge of the ribbing. Ch 1. Work 72 sc evenly spaced around the top edge of the brim. Join with a
sl stto first sc. Turn. (72 sc) - Round 2 (WS – First Shell Round): Ch 1. Work 1 sc in first sc.
*Skip next 2 sc. Work 5 dc in next sc (5-dc shell made). Skip next 2 sc. Work 1 sc in next sc.Repeat from*to last 5 sc. Skip next 2 sc. Work 5 dc in next sc. Skip last 2 sc. Join with asl stto first sc. Turn. (12 shells + 12 sc) - Round 3 (RS – Offset Shell Round): Ch 3 (counts as 1 dc). Work 2 dc in first sc (half-shell at seam).
*Skip next 2 dc. Work 1 sc in next (center/3rd) dc of shell. Skip next 2 dc. Work 5 dc in next sc.Repeat from*to last 5-dc group. Skip next 2 dc. Work 1 sc in next (center) dc. Skip last 2 dc. Work 2 dc in same first sc as beg ch-3 to complete the 5-dc shell. Join with asl stto top of ch-3. Turn. - Round 4 (WS): Ch 1. Work 1 sc in first st.
*Skip next 2 dc. Work 5 dc in next sc. Skip next 2 dc. Work 1 sc in next (center) dc.Repeat from*around, omitting the last sc at the end of the final repeat. Join with asl stto first sc. Turn. - Rounds 5 to 11: Repeat Rounds 3 and 4 three times more, then repeat Round 3 once more (11 body rounds total, ending with RS facing).
Part 3: Shape Crown (4 Decrease Rounds)
- Decrease Round 1 (WS – 4-Dc Shells): Ch 1. Work 1 sc in first st.
*Skip next 2 dc. Work 4 dc in next sc. Skip next 2 dc. Work 1 sc in next dc.Repeat from*around, omitting last sc. Join with asl stto first sc. Turn. (60 sts) - Decrease Round 2 (RS – 3-Dc Shells): Ch 3 (counts as 1 dc). Work 1 dc in first sc.
*Skip next 2 dc. Work 1 sc in next dc. Skip next dc. Work 3 dc in next sc.Repeat from*to last 4-dc group. Skip next 2 dc. Work 1 sc in next dc. Skip last dc. Work 1 dc in same sc as beg ch-3. Join with asl stto top of ch-3. Turn. (48 sts) - Decrease Round 3 (WS – 2-Dc Clusters): Ch 1. Work 1 sc in first st.
*Skip next dc. Work 2 dc in next sc. Skip next dc. Work 1 sc in next dc.Repeat from*around, omitting last sc. Join with asl stto first sc. Turn. (36 sts) - Decrease Round 4 (RS – Final Gather Round): Ch 3 (counts as 1 dc).
*Skip next dc. Work 1 sc in next dc. Work 1 dc in next sc.Repeat from*around, omitting last dc. Join with asl stto top of ch-3. Fasten off, leaving a long yarn tail. (24 sts) - Close Crown & Attach Pompom: Thread the long tail onto a yarn needle, weave through the remaining 24 crown stitches, pull tightly to close the top opening, and secure. Make a full 3″ [7.5 cm] pompom (wrapping yarn ~100 times around a 3″ cardboard template), attach firmly to the crown, and fold the ribbed cuff in half to wear.
Save & Print This Crochet Pattern
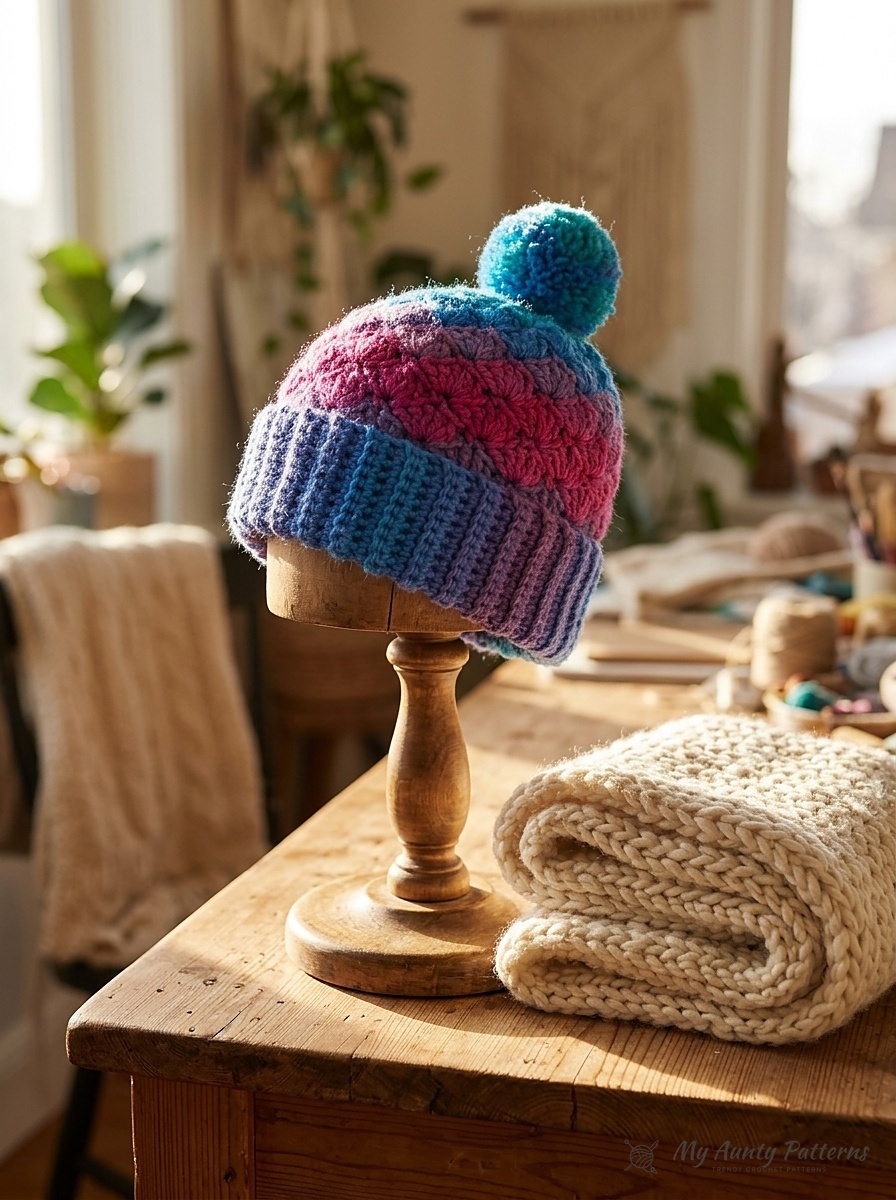
Prefer working offline or keeping a printed copy in your project bag? Download our formatted Stripy Shell Stitch Crochet Hat printable PDF guide below, complete with the full materials table, stitch diagrams, color-key charts, and step-by-step assembly instructions prepared for My Aunty Patterns.
READER COMMENTS & PATTERN QUESTIONS
Have a question about stitch counts, yarn substitutions, or sizing? Leave a comment below — Mary Ward reads and replies to every maker question!