
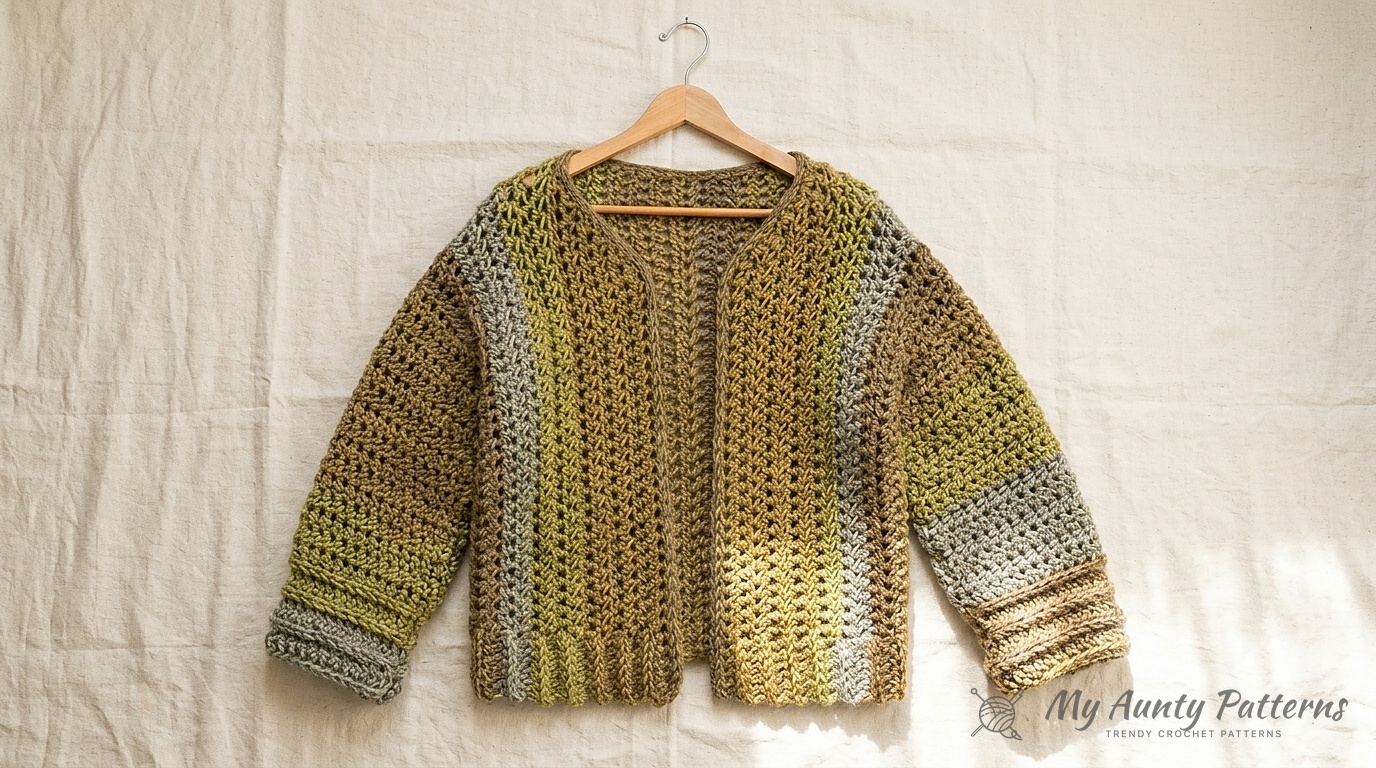
Crocheting a sweater from cuff to center back is one of the smartest ways to turn a self-striping cake yarn into flattering vertical stripes. The Side-to-Side Boxy Ribbed Cuff Crochet Cardigan is worked in two mirrored halves (Right Side and Left Side) using #6 super bulky Caron® Tea Cakes™ and a Size U.S. L/11 (8.0 mm) hook. Even better, both the 8-row sleeve cuffs and the 6-stitch bottom hem are worked right into the main rows by crocheting into the horizontal bar (third loop) of the half double crochet stitch!
Quick Pattern Specifications
- Skill Level: Easy (Side-to-Side Half Double Crochet + Horizontal-Bar Ribbing)
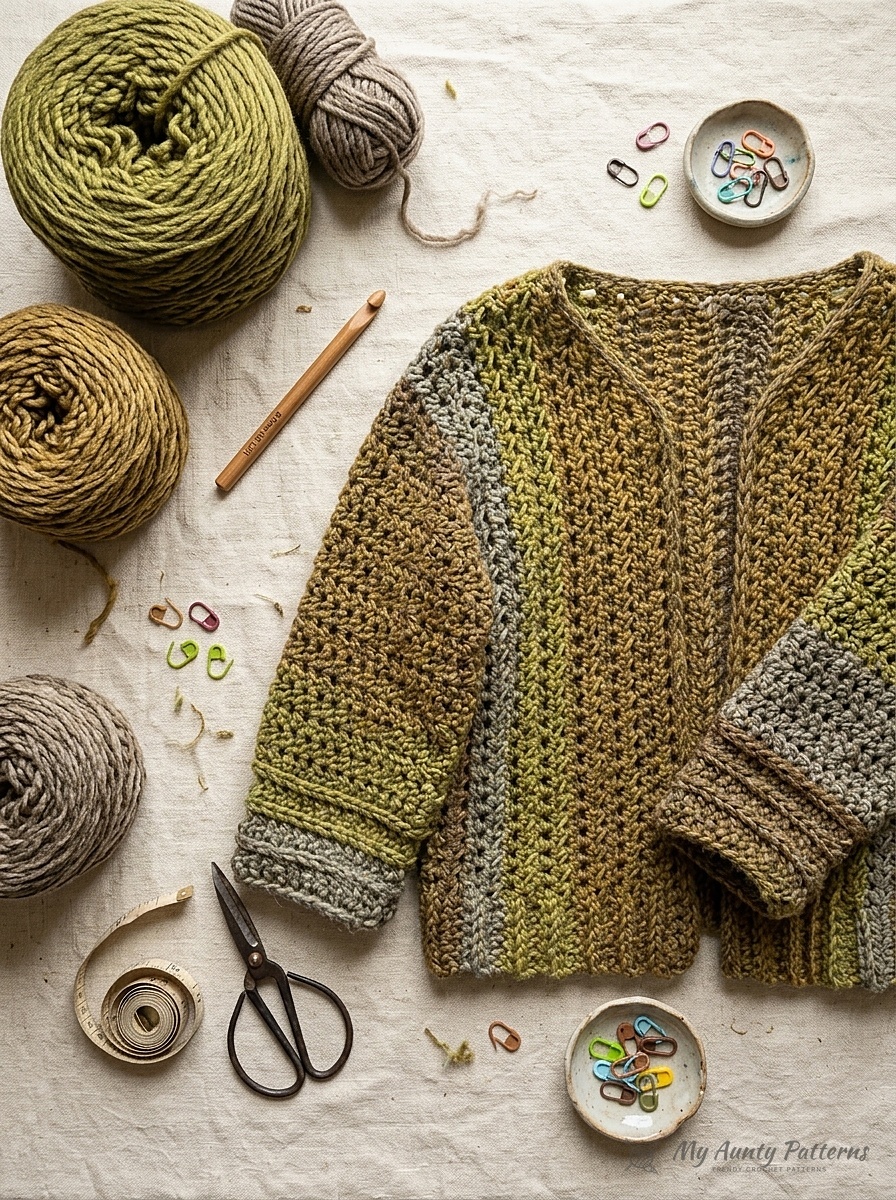
- Yarn Weight: Super Bulky (#6) — Caron® Tea Cakes™ (80% Acrylic, 20% Wool; 8.5 oz / 240 g; 204 yds / 186 m per cake)
- Featured Colorway: Maple Matcha (20005) — 3 (4, 4, 5, 6, 7) cakes
- Hook Size: Size U.S. L/11 (8.0 mm) crochet hook (or size needed to obtain gauge)
- Gauge: 7 sc and 8 rows = 4″ [10 cm]
- Sizes Included: 6 Inclusive Adult Sizes — XS/S (M, L, XL, 2/3XL, 4/5XL)
Size Chart & Yarn Requirements (XS/S to 4/5XL)
| Size | To Fit Bust | Finished Bust | Sleeve Starting Chain | Full Body Row Stitches | Tea Cakes Needed |
|---|---|---|---|---|---|
| XS / S | 28″–34″ [71–86.5 cm] | 38″ [96.5 cm] | Ch 32 (30 hdc) | 74 hdc | 3 cakes (612 yds) |
| Medium (M) | 36″–38″ [91.5–96.5 cm] | 42″ [106.5 cm] | Ch 32 (30 hdc) | 74 hdc | 4 cakes (816 yds) |
| Large (L) | 40″–42″ [101.5–106.5 cm] | 46″ [117 cm] | Ch 34 (32 hdc) | 80 hdc | 4 cakes (816 yds) |
| Extra Large (XL) | 44″–46″ [112–117 cm] | 50″ [127 cm] | Ch 36 (34 hdc) | 82 hdc | 5 cakes (1,020 yds) |
| 2/3XL | 48″–54″ [122–137 cm] | 58″ [147.5 cm] | Ch 38 (36 hdc) | 88 hdc | 6 cakes (1,224 yds) |
| 4/5XL | 56″–62″ [142–157.5 cm] | 66″ [167.5 cm] | Ch 42 (40 hdc) | 96 hdc | 7 cakes (1,428 yds) |
Abbreviations & Special Stitches (US Crochet Terms)
- Ch = Chain(s)
- Hdc = Half double crochet
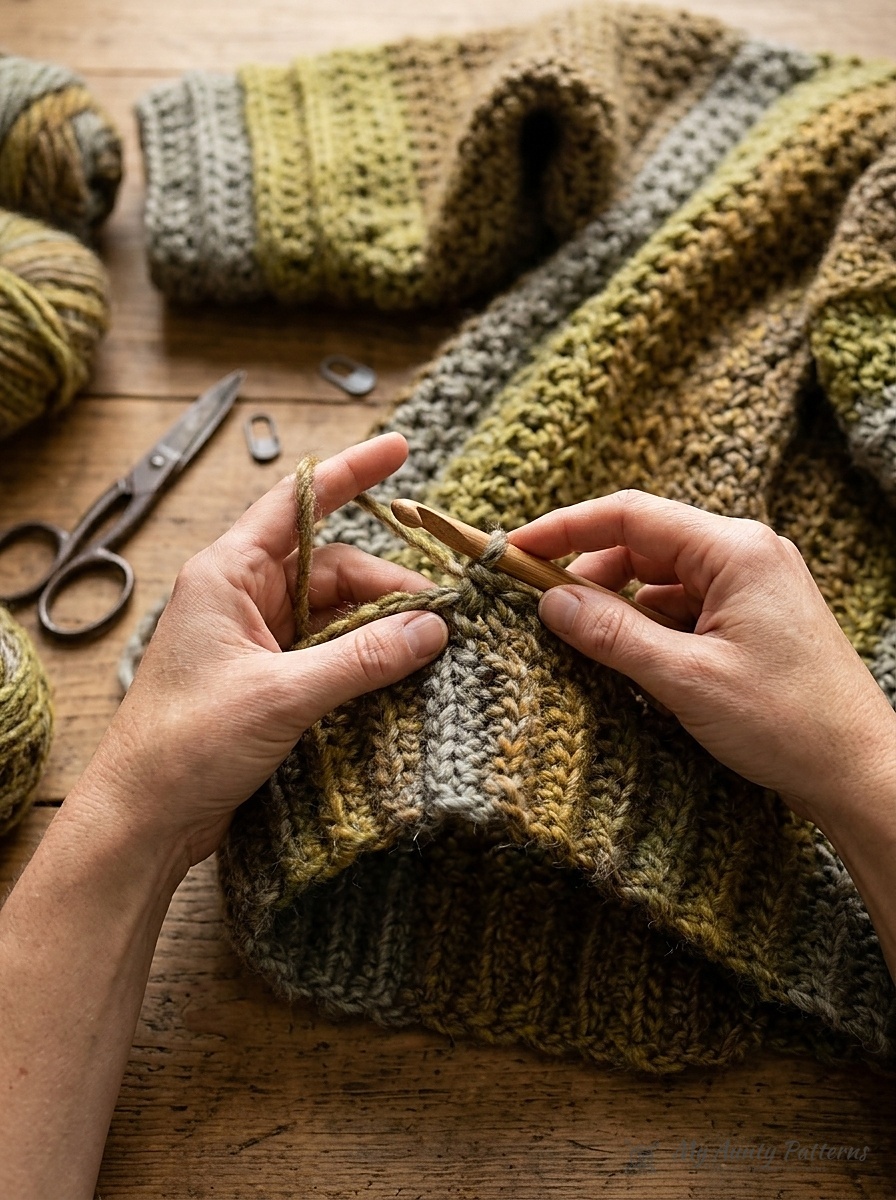
- Hdc in Horizontal Bar (Third Loop Ribbing) = Work 1 hdc into the horizontal bar created just below the top loops of the stitch in the previous row (pushes the top V-loops forward into a raised knit-like rib).
- Hdc2tog (Hdc Decrease) = Yoh and draw up a loop in each of next 2 stitches, yoh and draw through all 5 loops on hook.
- Sc = Single crochet
- Sl st = Slip stitch
Note: Ch 2 at the beginning of a row does not count as a stitch.
Step-by-Step Crochet Instructions
Part 1: Right Side (Sleeve to Center Back)
- Right Sleeve Cuff (Rows 1–8): Beginning at right cuff edge, ch 32 (32, 34, 36, 38, 42). Row 1 (RS): Work 1 hdc in 3rd ch from hook and in each ch to end of chain, turn — 30 (30, 32, 34, 36, 40) hdc. Row 2: Ch 2, work 1 hdc in horizontal bar below each stitch across, turn. Repeat Row 2 6 times more (8 cuff rows total).
- Right Sleeve Body: Ch 2, work 1 regular hdc in each hdc across, turn. Repeat this row until sleeve measures 12 (12, 13, 13, 14, 14)” [30.5 (30.5, 33, 33, 35.5, 35.5) cm] from beginning, ending on a WS row. Fasten off.
- Join Body (Extend Front & Back Lower Panels):
- Row 1 (RS): Make a separate chain of ch 22 (22, 24, 24, 26, 28) for the first lower body edge, work 1 hdc in each of the 30 (30, 32, 34, 36, 40) Sleeve hdc, then ch 24 (24, 26, 26, 28, 30) at the end of the row for the opposite lower body edge. Turn.
- Row 2 (WS): Work 1 hdc in 3rd ch from hook, 1 hdc in each of next 21 (21, 23, 23, 25, 27) ch, 1 hdc in each of 30 (30, 32, 34, 36, 40) Sleeve hdc, and 1 hdc in each of remaining 22 (22, 24, 24, 26, 28) ch. Turn. (74 [74, 80, 82, 88, 96] hdc from bottom Back hem over shoulder to bottom Front hem)
- Row 3 (Establish 6-Stitch Ribbed Hems): Ch 2. Work 1 hdc in horizontal bar in each of first 6 hdc (Back bottom hem), work 1 regular hdc in each hdc across to last 6 hdc, work 1 hdc in horizontal bar in each of last 6 hdc (Front bottom hem). Turn.
- Repeat Body Rows: Repeat Row 3 until body from Sleeve divide measures 6 (7, 8, 8.5, 10.5, 12.5)” [15 (18, 20.5, 21.5, 26.5, 32) cm], ending on a WS row.
- Divide for Right Back & Right Front Neck:
- Right Back: Row 1: Ch 2, work 1 hdc in horizontal bar in each of first 6 hdc, then 1 regular hdc in each of next 31 (31, 34, 35, 38, 42) hdc, turn (leaving remaining Front stitches unworked) — 37 (37, 40, 41, 44, 48) Back hdc. Continue working even on these Back stitches (keeping the 6 hem stitches in horizontal-bar ribbing) until Back measures 3.5 (3.5, 3.5, 4, 4, 4)” [9 (9, 9, 10, 10, 10) cm] from divide, ending on WS. Fasten off.
- Right Front Neck Shaping: With RS facing, join yarn with a
sl stto the first unworked stitch at the neck divide. Row 1: Ch 2,hdc2tog, work 1 hdc in each hdc to last 6 hdc, work 1 hdc in horizontal bar in each of last 6 hdc, turn — 36 (36, 39, 40, 43, 47) sts. Repeat a neck-edgehdc2togon the next 4 rows (Rows 2–5) so 32 (32, 35, 36, 39, 43) sts remain, then work even keeping the 6 hem stitches in horizontal-bar ribbing until Right Front matches Right Back width. Fasten off.
Part 2: Left Side, Seaming & Collar Edging
- Left Side: Ch 32 (32, 34, 36, 38, 42) and work the Left Sleeve and Body identically to the Right Side up to the Neck Divide. At the divide, work the Left Front across the first 37 (37, 40, 41, 44, 48) stitches (decreasing 1 stitch at the neck edge on Rows 1–5 down to 32 [32, 35, 36, 39, 43] sts) for 3.5 (3.5, 3.5, 4, 4, 4)”, then join yarn to the remaining 37 (37, 40, 41, 44, 48) Left Back stitches and work even to center back.
- Assembly & Single Crochet Edging: Sew the Right Back and Left Back together along the center back using a flat seam, then sew the underarm sleeve and side seams. With RS facing, join yarn at the bottom Right Front corner, ch 1, and work 1 row of evenly spaced sc up the Right Front opening, around the back neck, and down the Left Front opening. Fasten off and weave in ends.
Save & Print This Crochet Pattern
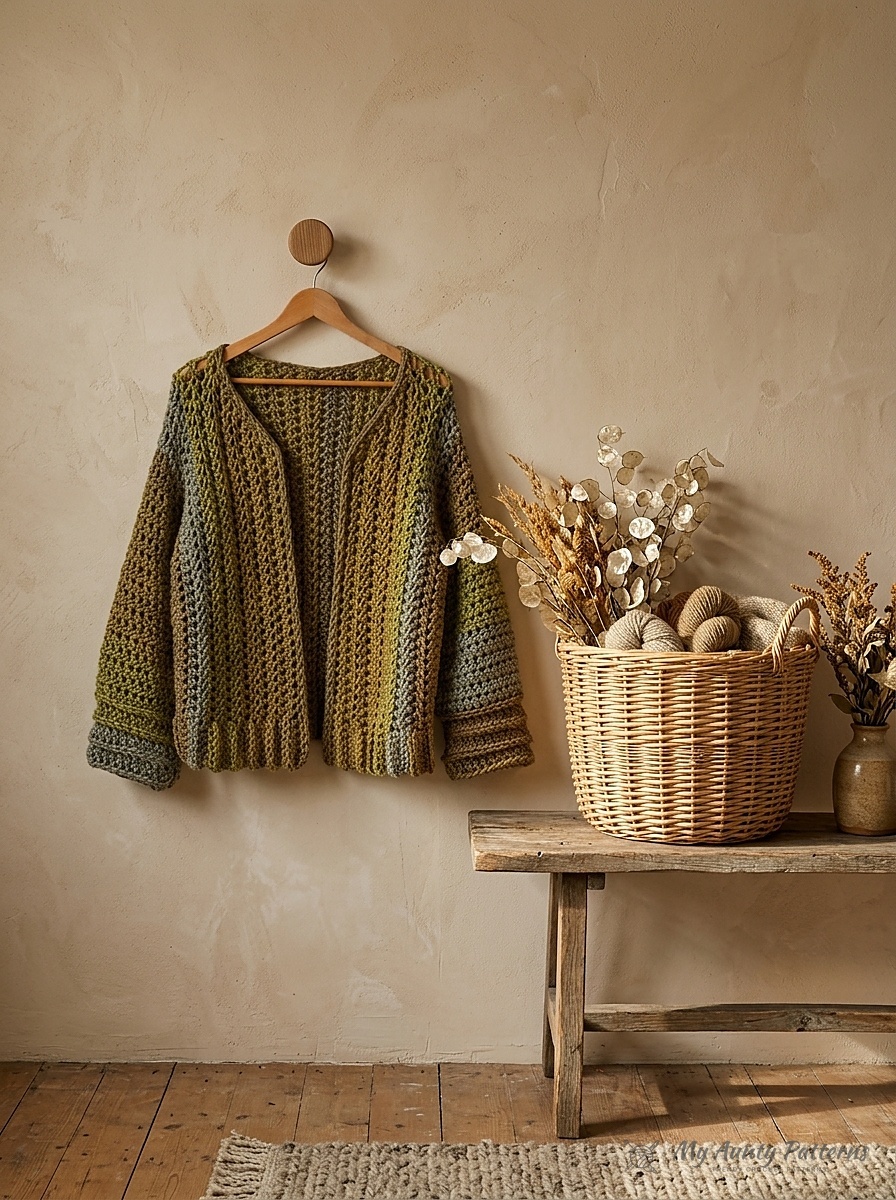
Prefer working offline or keeping a printed copy in your project bag? Download our formatted Crochet Boxy Cardigan printable PDF guide below, complete with the full materials table, stitch diagrams, color-key charts, and step-by-step assembly instructions prepared for My Aunty Patterns.
READER COMMENTS & PATTERN QUESTIONS
Have a question about stitch counts, yarn substitutions, or sizing? Leave a comment below — Mary Ward reads and replies to every maker question!