
The Bernat Crochet Teenie Beanie is a warm project for those looking to create a cozy and stylish hat. This pattern is perfect for new makers and offers a fun way to practice single crochet while crafting a useful accessory. With its simple build and chunky yarn, you’ll find that this beanie works up quickly, making it an ideal gift or a wardrobe staple.
Using Bernat Plush yarn adds extra softness and warmth to your creation, making sure that it will be a favorite for chilly days. The pattern allows for some creative color choices. You can customize the beanie to suit your style or the recipient’s preferences.

Bernat Crochet Teenie Beanie: Understanding the Construction of the Beanie
This beanie is constructed in rounds, starting from a small circle at the crown and expanding outward. The use of single crochet stitches creates a dense and warm fabric, key for a winter hat. Each round builds upon the previous one, gradually increasing the stitch count to shape the hat correctly.
As you follow the rounds, it’s key to join each with a slip stitch to maintain a seamless look. The rolled brim at the bottom adds a nice ending touch, making the beanie not only useful but stylish.
Choosing Your Yarn Colors
The pattern suggests using Bernat Plush yarn. Comes in a range of vibrant colors like Vivid Pink and Mustard. Choosing the right color can enhance the beanie’s appeal. You might check the recipient’s favorite colors or current fashion trends.
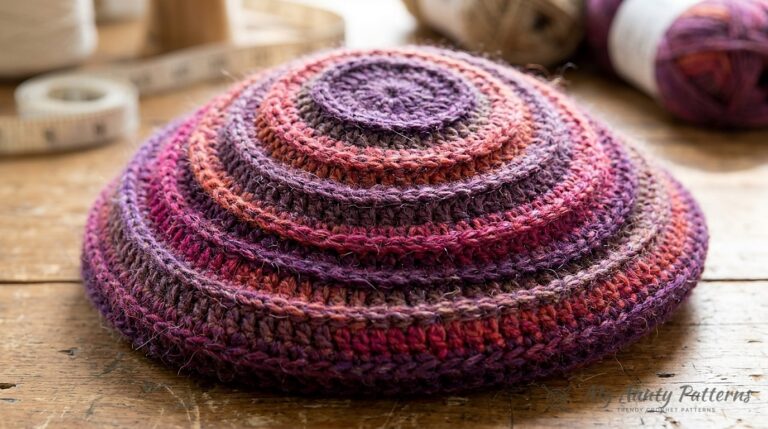
If you’re feeling adventurous, you can even experiment with color blocking or stripes by switching between two or more colors through the rounds. This can add a unique flair to your beanie and make it stand out.
Checking Your Progress for This Beanie
As you crochet the beanie, it’s crucial to periodically check your progress. This ensures that you adhere to the stitch counts for each round. Is vital for keeping the planned shape and fit. If you find that your beanie is not turning out as expected, it could be due to uneven tension or missed stitches.
Take the time to count your stitches at the end of each round. This practice not only helps in getting the right size but also builds confidence in your making skills.
Technical Specifications for the Teenie Beanie Pattern
Sizes & fit
One size to fit Adult.
Gauge & motif dimensions
8 single crochet (sc) and 9 rows = 4” [10 cm]
Hook specified in the pattern
Size U.S. M/13 (9 mm) Susan Bates® Silvalume® crochet hook or size needed to obtain gauge.
Required Materials for the Beanie

Bernat® Plush™ (8.8 oz/250 g; 146 yds/133 m) Vivid Pink (68057) or Mustard (68029) 1 ball or 134 yds/123 m Size U.S. M/13 (9 mm) Susan Bates® Silvalume® crochet hook or size needed to obtain gauge. Susan Bates® yarn needle. Vivid Pink Mustard
1 2 3 4 5 6 7 8 9–10 11 12–22 23
STITCH KEY
= chain (ch) = slip stitch (sl st) = single crochet (sc) = worked in back loop
Step-by-Step Instructions for Crocheting the Beanie

Note: Join all rounds (rnds) with slip stitch (sl st) to first sc. Chain (ch) 2. See diagram on page 2.
1st rnd: (Right side [RS]). 6 sc in 2nd ch from hook. Join. 6 sc.
2nd rnd: Ch 1. 2 sc in each sc around. Join. 12 sc.
3rd rnd: Ch 1. 1 sc in first sc. (2 sc in next sc. 1 sc in next sc) 5 times. 2 sc in last sc. Join. 18 sc.
4th rnd: Ch 1. 1 sc in first sc. 2 sc in next sc. (1 sc in each of next 2 sc. 2 sc in next sc) 5 times. 1 sc in last sc. Join. 24 sc.
5th rnd: Ch 1. 1 sc in each of first 3 sc. (2 sc in next sc. 1 sc in each of next 3 sc) 5 times. 2 sc in last sc. Join. 30 sc.
6th rnd: Ch 1. 1 sc in each sc around. Join.
7th rnd: Ch 1. 1 sc in each of first 2 sc. 2 sc in next sc. (1 sc in each of next 4 sc. 2 sc in next sc) 5 times. 1 sc in each of last 2 sc. Join. 36 sc.
8th rnd: Ch 1. 1 sc in each of first 5 sc. (2 sc in next sc. 1 sc in each of next 5 sc) 5 times. 2 sc in last sc. Join. 42 sc. 9th and 10th rnds: Ch 1. 1 sc in each sc around. Join.
11th rnd: Ch 1. 1 sc in each of first 3 sc. 2 sc in next sc. (1 sc in each of next 6 sc. 2 sc in next sc) 5 times. 1 sc in each of last 3 sc. Join. 48 sc.
12th to 22nd rnds: Ch 1. 1 sc in each sc around. Join.
23rd rnd: Working in back loops only, loosely sl st in each sc around. Fasten off and weave in ends. Fold last 4 rnds up to form rolled brim.
| Abbreviation | Meaning in the original pattern |
|---|---|
| Ch | Chain(s) |
| Rnd(s) | Round(s) |
| RS | Right side |
| Sc | Single crochet |
| Sl st | Slip stitch |
CROCHET I SKILL LEVEL: BEGINNER
MATERIALS
Bernat® Plush™ (8.8 oz/250 g; 146 yds/133 m) Vivid Pink (68057) or Mustard (68029) 1 ball or 134 yds/123 m Size U.S. M/13 (9 mm) Susan Bates® Silvalume® crochet hook or size needed to obtain gauge. Susan Bates® yarn needle. Vivid Pink Mustard
1 2 3 4 5 6 7 8 9–10 11 12–22 23
STITCH KEY
= chain (ch) = slip stitch (sl st) = single crochet (sc) = worked in back loop
Frequently Asked Questions about the Teenie Beanie
What size is the Teenie Beanie designed to fit?
The Teenie Beanie is made to fit adults, giving a soft and snug fit for most head sizes. Since the pattern does not specify distinct sizes, it is key to use the correct gauge to ensure the best fit. If you follow the gauge steps closely, you can expect the beanie to fit well.
If you’re making the beanie as a gift, it’s also a good idea to check the usual head sizes of your planned recipient. This will help ensure that your done product meets their needs.
How can I customize the beanie with different colors?
Customizing the beanie with distinct colors is a fun way to make it unique. You can choose distinct shades of Bernat Plush yarn to create a striped effect or even a color-blocked design. Start by selecting two or more colors that complement each other.
You can change colors at the start of any round, just note to carry the unused yarn along the edge to avoid tangling. This allows you to create a striking visual effect while keeping the integrity of the pattern.
What if my gauge doesn’t match the pattern?
If your gauge doesn’t match the pattern, you may need to adjust your hook size. It’s key to achieve the correct gauge to ensure the beanie fits properly. If your stitches are too tight, check using a larger hook; if they are too loose, try a smaller one.
Always check your gauge before starting the project by making a small swatch. This will save you time and help prevent issues with the size of the done beanie.

Now that you’re familiar with the build and customization options for the Teenie Beanie, gather your supplies and start making! Enjoy the process and have fun creating a cozy accessory that you can wear or gift with pride.
Save & Print This Crochet Pattern
Prefer working offline or keeping a printed copy in your project bag? Download our formatted Crochet Teenie Beanie printable PDF guide below, complete with the full materials table, stitch diagrams, color-key charts, and step-by-step assembly instructions prepared for My Aunty Patterns.
READER COMMENTS & PATTERN QUESTIONS
Have a question about stitch counts, yarn substitutions, or sizing? Leave a comment below — Mary Ward reads and replies to every maker question!