Imagine sinking your teeth into a warm, gooey slice of chocolate chip cookie pie, where the rich aroma of melted chocolate mingles with the buttery scent of freshly baked dough, creating an irresistible invitation to indulge. Each bite is a delightful combination of crisp edges and a soft, chewy center that transports you straight back to childhood days spent in the kitchen, eagerly awaiting the sweet rewards of baking adventures.
This heavenly dessert is perfect for cozy family gatherings or impromptu celebrations when you want to impress friends with minimal effort. Picture a sunny afternoon, laughter filling the air as you serve up generous portions, each slice promising an explosion of flavors that will leave everyone craving more. Trust me; this cookie pie isn’t just a treat; it’s a delicious memory waiting to happen!
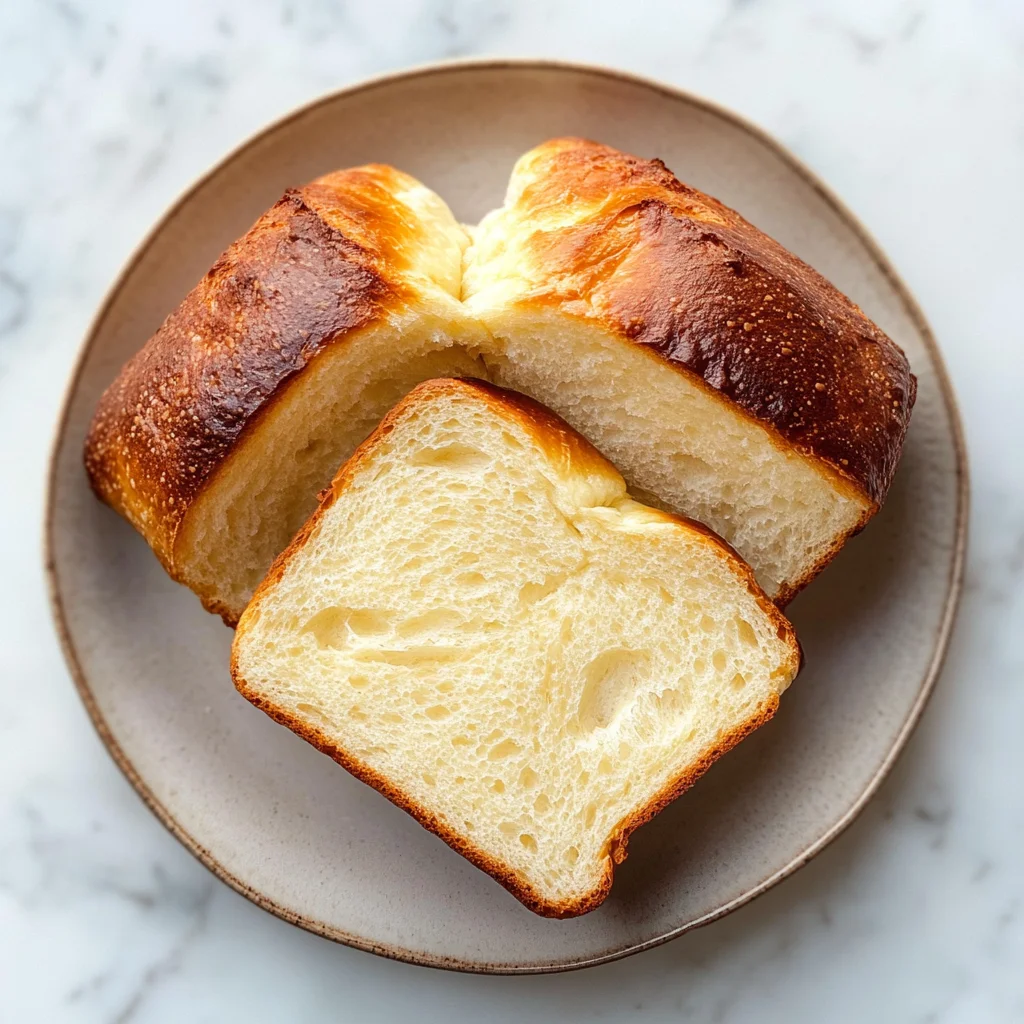
Why is Classic White Bread from Scratch a must-try?
Baking your own bread at home has never been easier!
Incredible flavor and texture elevate any meal.
Versatile enough for sandwiches, toast, or simply with butter.
Time-saving—you’ll have fresh bread in just a few hours!
Family-friendly, it’s a fun way to get kids involved in the kitchen.
Impressive crowd-pleaser, perfect for gatherings or cozy dinners.
Classic White Bread from Scratch Ingredients
For the Dough
- All-purpose flour – This is the backbone of your bread, giving it structure and a delightful chew.
- Active dry yeast – Helps the bread rise; make sure it’s fresh for best results.
- Warm water – Activates the yeast; aim for about 110°F (43°C) for optimal growth.
- Sugar – Feeds the yeast and adds a touch of sweetness; honey or maple syrup can be used as substitutes.
- Salt – Balances the flavor and strengthens gluten; don’t skip this step!
- Butter – Adds richness and contributes to a tender crumb; feel free to use olive oil if you prefer a dairy-free option.
For the Topping (optional)
- Egg wash – A mixture of beaten egg and water creates a shiny crust; brush it on before baking for an irresistible finish.
- Sesame seeds or poppy seeds – Sprinkle these on top for added texture and flavor, making your classic white bread from scratch even more inviting!
How to Make Classic White Bread from Scratch
1. Gather ingredients: Begin by assembling all your ingredients—flour, yeast, salt, sugar, and warm water. This ensures a smooth and joyful baking experience.
2. Activate the yeast: In a small bowl, combine warm water and sugar, then sprinkle yeast on top. Let it sit for about 5-10 minutes until frothy and bubbly—this means your yeast is alive!
3. Mix the dough: In a large mixing bowl, whisk together flour and salt. Create a well in the center, then pour in the activated yeast mixture. Stir until a shaggy dough forms.
4. Knead the dough: Turn the dough onto a lightly floured surface. Knead for about 8-10 minutes until smooth and elastic—this develops that wonderful texture we love in classic white bread!
5. First rise: Place the kneaded dough in a greased bowl, cover with a damp cloth, and let it rise in a warm place for 1-2 hours, or until doubled in size. Patience is key here!
6. Shape the loaf: Once risen, gently punch down the dough to release air bubbles. Shape it into a loaf by rolling it tightly from one end to the other.
7. Second rise: Place your shaped loaf into a greased loaf pan. Cover and let it rise again for about 30-45 minutes until puffed up. It should be soft to the touch.
8. Preheat oven: While waiting for the second rise, preheat your oven to 350°F (175°C). This ensures your bread bakes evenly.
9. Bake the bread: Bake for 25-30 minutes until the top is golden brown and sounds hollow when tapped on the bottom—a sign of perfect classic white bread from scratch!
10. Cool and slice: Let the bread cool in the pan for 10 minutes before transferring it to a wire rack to cool completely. Slice once cool for perfect pieces!
Optional: Serve with butter or jam for an extra treat!
Exact quantities are listed in the recipe card below.
Expert Tips for Classic White Bread from Scratch
- Use Fresh Ingredients: Always check the freshness of your yeast and flour. Stale ingredients can lead to flat, dense bread.
- Knead Properly: Knead the dough until it’s smooth and elastic. This develops gluten, which is crucial for a light, airy loaf of classic white bread from scratch.
- Watch the Temperature: Keep your water at around 110°F (43°C) when activating yeast. Too hot can kill it, while too cold slows down the rise.
- Don’t Rush Proofing: Allow the dough enough time to rise. A warm, draft-free space helps it double in size—typically about 1-2 hours.
- Check for Doneness: Tap the bottom of the loaf; it should sound hollow when done. If it feels heavy, give it more time in the oven.
How to Store and Freeze Classic White Bread from Scratch

- Room Temperature: Keep your Classic White Bread from Scratch in an airtight container or a resealable bag for up to 3 days to maintain freshness.
- Fridge: While refrigeration can extend shelf life, it may dry out the bread. Store it in an airtight bag for up to 1 week if necessary.
- Freezer: For longer storage, wrap the bread tightly in plastic wrap and then foil or place it in a freezer bag. It’s good for up to 3 months.
- Reheating: To enjoy your frozen Classic White Bread, thaw it at room temperature or microwave slices for about 15-20 seconds until warmed through.
Classic White Bread from Scratch Twists
Ready to put your own spin on this comforting classic? Let’s explore some delightful variations that will elevate your baking experience!
- Whole Wheat: Substitute half of the all-purpose flour with whole wheat flour for a nuttier flavor and added fiber. Your bread will have a warm, earthy aroma that fills the kitchen.
- Herbed Delight: Add 1 tablespoon of dried herbs like rosemary or thyme to the dough for a fragrant twist. This savory option will complement sandwiches beautifully.
- Honey-Sweetened: Replace sugar with honey in equal measure for a natural sweetness and subtle floral notes. This adds a lovely depth that pairs perfectly with butter.
- Seeds & Grains: Mix in sunflower seeds, flaxseeds, or oats for added texture and nutrition. Each bite becomes a crunchy surprise, making it even more satisfying.
- Cheese Infusion: Fold in shredded cheese like cheddar or mozzarella before the first rise for a cheesy delight. The melted cheese creates pockets of gooey goodness throughout the loaf.
- Spicy Kick: Stir in a teaspoon of crushed red pepper flakes for a gentle heat that surprises the palate. It’s an unexpected twist that makes your bread stand out at any gathering.
- Cinnamon Swirl: Sprinkle cinnamon sugar into the dough before shaping to create a sweet, aromatic swirl. Perfect for breakfast or as an indulgent snack!
- Nutty Variation: Incorporate chopped nuts like walnuts or pecans into the dough for added crunch and flavor. This hearty addition will make each slice uniquely delicious.
Make Ahead Options
When it comes to making Classic White Bread from Scratch, planning ahead can save you valuable time during busy weeks. You can prepare the dough up to 24 hours in advance by mixing and kneading it, then letting it rise in the refrigerator. This slow fermentation enhances the flavor and texture of the bread. Alternatively, you can shape the loaves and freeze them for up to 3 days; simply wrap them tightly in plastic wrap and place them in a freezer bag. When you’re ready to bake, let the dough thaw in the fridge overnight or at room temperature for a few hours before allowing it to rise again. For optimal results, always check the dough’s readiness before baking to ensure your Classic White Bread is as fluffy and delicious as possible!
Classic White Bread from Scratch Recipe FAQs
What type of flour is best for Classic White Bread?
For this recipe, all-purpose flour is your best bet! It has the right balance of protein which helps create a soft, tender crumb. If you want to experiment, bread flour can also work well, giving you an even chewier texture.
How should I store my homemade white bread?
Once your bread has cooled completely, wrap it tightly in plastic wrap or aluminum foil and store it at room temperature. It will stay fresh for about 3-5 days. For longer storage, consider keeping it in an airtight container or a bread box to maintain its softness.
Can I freeze Classic White Bread?
Absolutely! To freeze your homemade bread, slice it first for convenience. Wrap each slice or the whole loaf tightly in plastic wrap and then place it in a freezer-safe bag. It can last up to 3 months in the freezer. When ready to enjoy, simply thaw at room temperature or toast slices directly from the freezer!
Why did my bread not rise properly?
There are a few common culprits when it comes to bread that doesn’t rise. First, check if your yeast is fresh; expired yeast can lead to failure. Also, ensure your water temperature is between 100°F and 110°F for optimal yeast activation—too hot can kill the yeast! Finally, kneading is crucial; make sure you’ve developed that gluten well for a good rise.
Can I substitute any ingredients for dietary needs?
Certainly! If you’re looking for a gluten-free option, try using a gluten-free all-purpose flour blend specifically designed for baking. For a dairy-free version, you can replace milk with almond milk or any plant-based milk of your choice. Just be aware that different flours may change the texture slightly.
How can I tell when my bread is fully baked?
The best way to check if your Classic White Bread is done baking is by tapping the bottom of the loaf; it should sound hollow. Additionally, an instant-read thermometer inserted into the center should read around 190°F. If it’s golden brown on top and feels firm but springy when touched, you’re good to go!
Classic White Bread from Scratch
Ingredients
Method
- Gather ingredients: Begin by assembling all your ingredients—flour, yeast, salt, sugar, and warm water.
- Activate the yeast: In a small bowl, combine warm water and sugar, then sprinkle yeast on top. Let it sit for about 5-10 minutes until frothy and bubbly.
- Mix the dough: In a large mixing bowl, whisk together flour and salt. Create a well in the center, then pour in the activated yeast mixture. Stir until a shaggy dough forms.
- Knead the dough: Turn the dough onto a lightly floured surface. Knead for about 8-10 minutes until smooth and elastic.
- First rise: Place the kneaded dough in a greased bowl, cover with a damp cloth, and let it rise in a warm place for 1-2 hours, or until doubled in size.
- Shape the loaf: Once risen, gently punch down the dough to release air bubbles. Shape it into a loaf by rolling it tightly from one end to the other.
- Second rise: Place your shaped loaf into a greased loaf pan. Cover and let it rise again for about 30-45 minutes until puffed up.
- Preheat oven: While waiting for the second rise, preheat your oven to 350°F (175°C).
- Bake the bread: Bake for 25-30 minutes until the top is golden brown and sounds hollow when tapped on the bottom.
- Cool and slice: Let the bread cool in the pan for 10 minutes before transferring it to a wire rack to cool completely. Slice once cool for perfect pieces.