
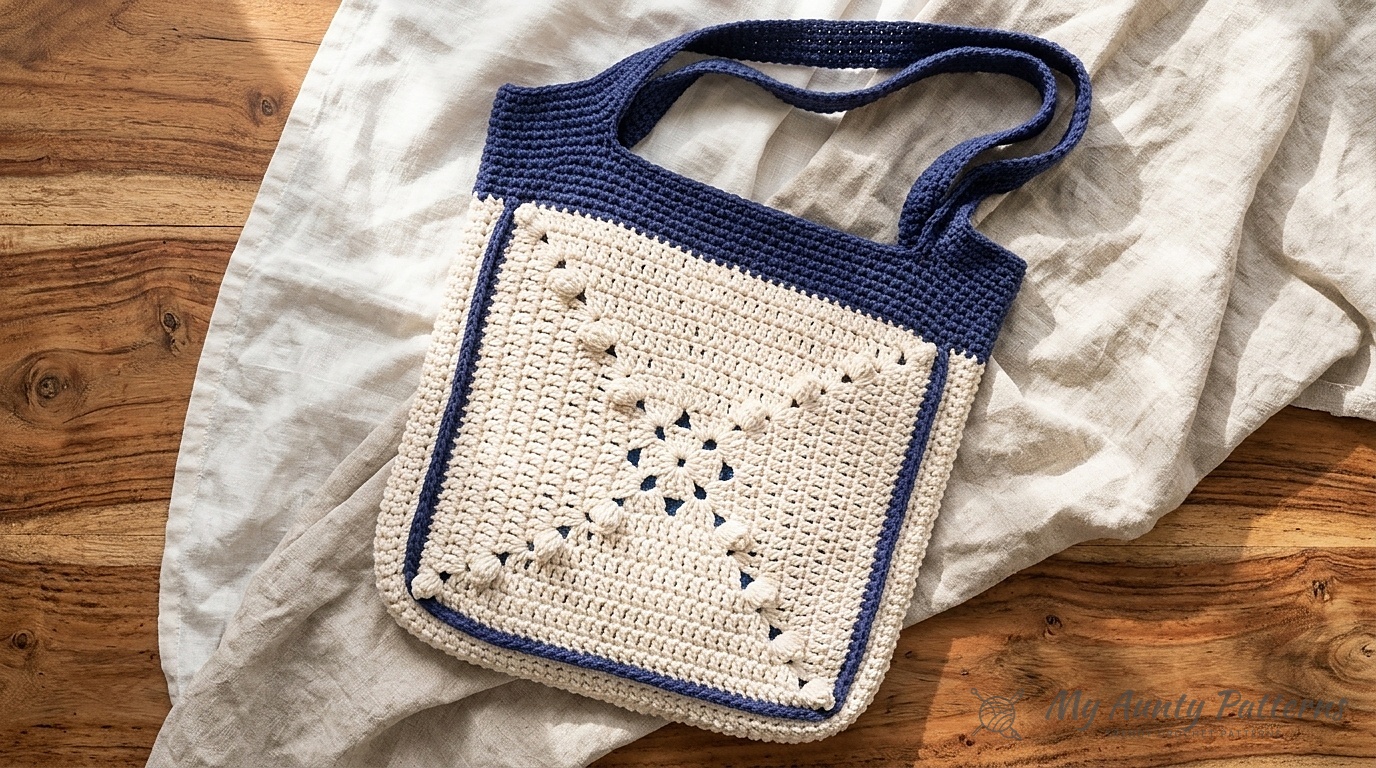
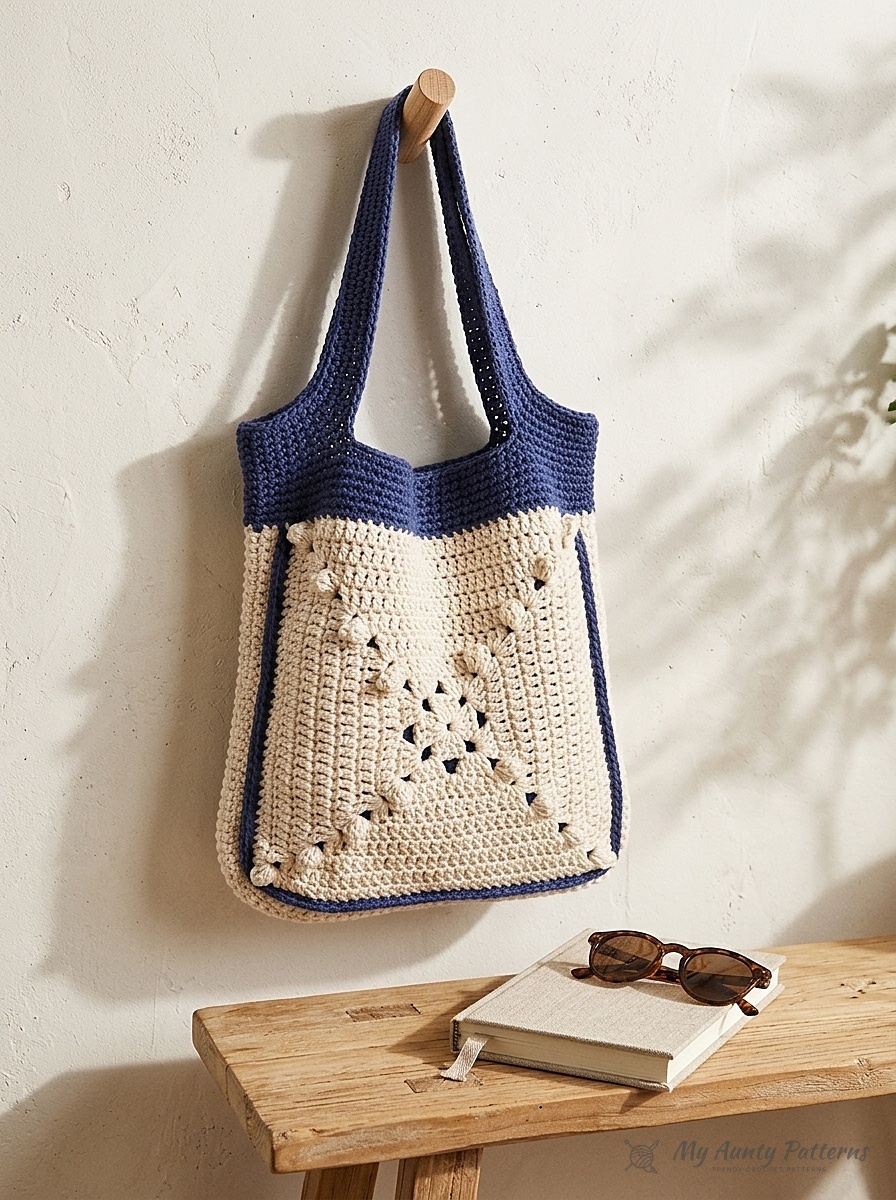
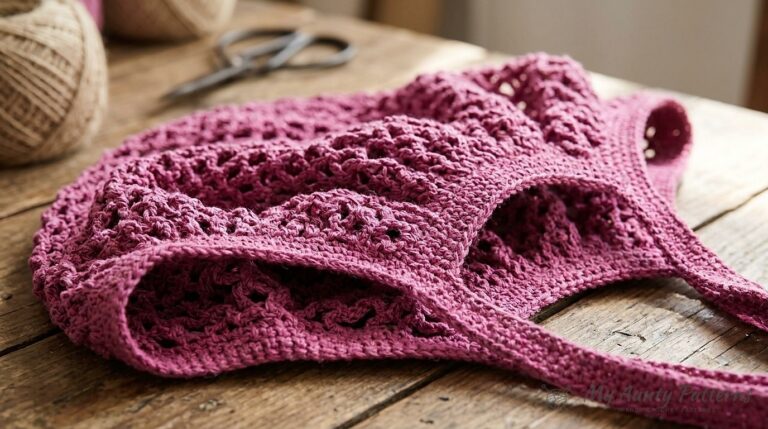
If you love the look of modern motif bags but want a roomy, structured carryall with real depth and architectural piping, the Popcorn Motif Carry-On Crochet Tote Bag is a joy to construct. Worked in smooth, tubular #5 bulky Bernat® Maker™ cotton-nylon yarn with a 6.0 mm (US J/10) hook, the bag pairs two 9-round Cream square motifs—featuring diagonal lines of 5-dc corner Popcorn stitches—with a clever Navy front-loop edging. By working the 8-row Side Gusset into the remaining back loops of that Navy round, the Navy stitches pop outward into a crisp, store-bought piping ridge around three sides of the bag!
Quick Pattern Specifications
- Skill Level: Easy (2 Popcorn Square Motifs + Gusset + One-Piece Top Straps)
- Yarn Weight: Bulky (#5) — Bernat® Maker™ (72% Cotton, 28% Nylon Tubular Yarn; 8.8 oz / 250 g; 317 yds / 290 m per ball)
- Main Color (MC): Cream (06003) — 1 ball (uses approx. 310 yds / 282 m)
- Contrast A: Navy (06017) — 1 ball (uses approx. 260 yds / 237 m)
- Hook Size: Size U.S. J/10 (6.0 mm) crochet hook (or size needed to obtain gauge)
- Gauge: 14 sc and 15 rows = 4″ [10 cm]
- Finished Measurements: Approx. 13″ wide × 15″ high [33 × 38 cm], excluding handles
How the Exposed Navy Piping Ridge & Side Gusset Work
Most two-square tote bags are sewn flat together along three edges, which limits how much you can fit inside. Here, after completing the 9-round Cream square motif, you join Contrast A (Navy) in the front loops only (FLO) along the left side, bottom, and right side of each motif (leaving the top edge unworked). Then, you join Main Color (Cream) into the unused back loops of that Navy edging round to crochet an 8-row single crochet Side Section that wraps around all three sides and slip-stitches directly into the back loops of the second motif’s Navy edging—pushing both Navy front-loop borders forward like tailored welting!
Materials & Bag Architecture Overview
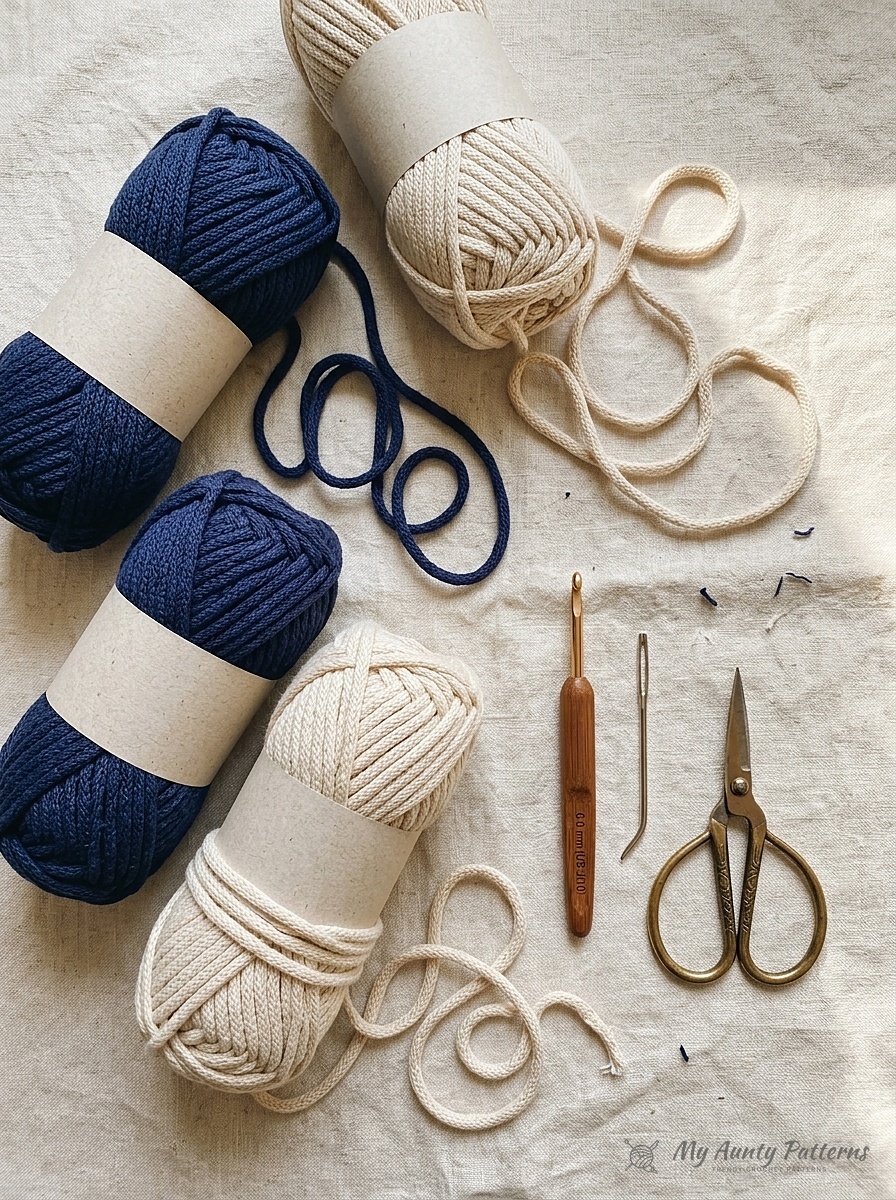
- Main Color (MC — Motifs & 3-Sided Gusset): 1 ball of Bernat® Maker™ in Cream (06003).
- Contrast A (Piping Ridge, 12-Round Upper Yoke & Straps): 1 ball of Bernat® Maker™ in Navy (06017).
- Hook & Notions: Size U.S. J/10 (6.0 mm) crochet hook, yarn needle, and scissors.
| Bag Component | Rounds / Rows | Color | Key Construction Detail |
|---|---|---|---|
| Front & Back Motifs (Make 2) | Rnds 1–9 | MC (Cream) | Corner 5-dc Popcorns on Rnds 3, 5, 7 & 9; Treble corners on Rnds 4, 6 & 8 |
| 3-Sided Motif Edging | 1 Row along 3 sides | Contrast A (Navy) | Worked in Front Loops Only (FLO) down side, across bottom, and up 2nd side |
| Side Gusset Section | Rows 1–8 + Sl St Join | MC (Cream) | Worked into remaining back loops of Motif 1; joined to Motif 2 back loops |
| Top Border & Integrated Straps | Rnds 1–12 | Contrast A (Navy) | 92 sc around upper opening; Ch-51 strap arches on Rnd 8 (144 sc on Rnds 9–12) |
Abbreviations & Special Stitch Guide (US Crochet Terms)
- Ch = Chain(s)
- Dc = Double crochet
- Hdc = Half double crochet
- Popcorn (5-Dc Popcorn) = Work
5 dcin the indicated corner space. Drop loop from hook, insert hook from front to back into the top of the first of the 5 dc, grab the dropped loop and pull it through, then ch 1 tightly to close the popcorn. - Rep = Repeat
- RS / WS = Right side / Wrong side
- Sc = Single crochet
- Sl st = Slip stitch
- Tr = Treble crochet
Step-by-Step Crochet Instructions
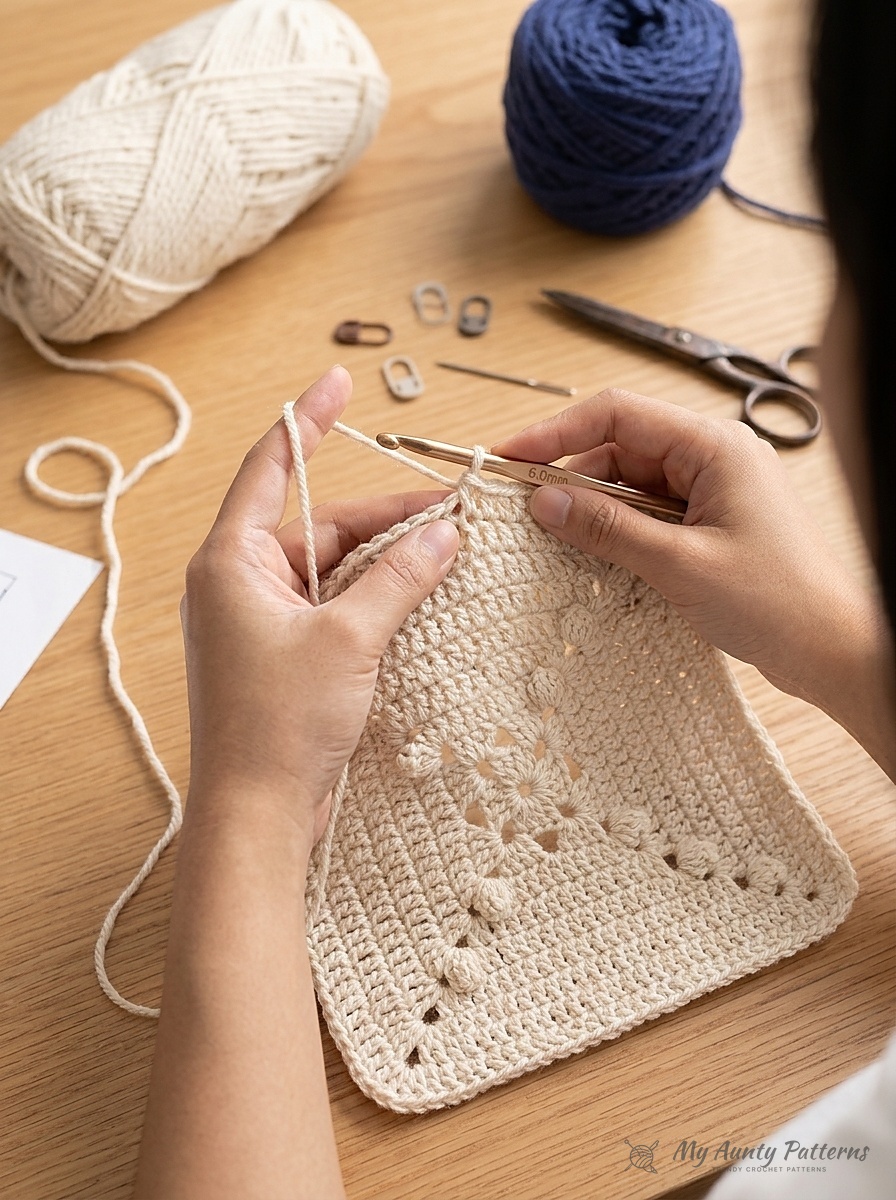
Part 1: Crocheting the Two Cream Popcorn Motifs (Make 2)
Note: Ch 3 at the beginning of a round always counts as the first dc.
- Center Ring: With MC (Cream), ch 4 and join with a
sl stto first ch to form a ring. - Round 1: Ch 3, work 3 dc in ring. Work
(Ch 2, 4 dc in ring)3 times. Join with 1 hdc to top of ch-3 (creates the 4th corner ch-2 space). - Round 2: Ch 3, work
(3 dc, ch 2, 4 dc)all in the corner sp just created.*Ch 1. Work (4 dc, ch 1, 4 dc) all in next corner ch-2 sp.Repeat from*twice more. Ch 1, join withsl stto top of ch-3. - Round 3 (First Popcorn Corner Round): Ch 3, work 1 dc in each of next 3 dc.
*Work (1 dc, Popcorn, 1 dc) all in next corner sp. Work 1 dc in each of next 4 dc, 1 dc in next ch-1 sp, and 1 dc in each of next 4 dc.Repeat from*twice more. Work(1 dc, Popcorn, 1 dc)in last corner sp, 1 dc in each of next 4 dc, 1 dc in last ch-1 sp, and join withsl stto top of ch-3. - Round 4 (Treble Corner Expansion Round): Ch 3, work 1 dc in each of next 4 dc.
*Work (1 dc, 1 tr, ch 1, 1 tr, 1 dc) all in top of next corner Popcorn. Work 1 dc in each of next 11 dc.Repeat from*twice more. Work(1 dc, 1 tr, ch 1, 1 tr, 1 dc)in top of last Popcorn, 1 dc in each of last 5 dc, and join withsl stto top of ch-3. - Round 5 (Second Popcorn Round): Ch 3, work 1 dc in each dc to next corner ch-1 sp.
*Work (2 dc, Popcorn, 2 dc) all in next corner ch-1 sp. Work 1 dc in each dc to next corner ch-1 sp.Repeat from*3 times across all 4 corners, working 1 dc in each remaining dc to end of round. Join withsl stto top of ch-3. - Round 6: Ch 3, work 1 dc in each dc to next Popcorn. Work
(1 dc, 1 tr, ch 1, 1 tr, 1 dc)in top of each of the 4 corner Popcorns and 1 dc in each dc along the sides. Join withsl stto top of ch-3. - Rounds 7 & 8: Repeat Rounds 5 and 6.
- Round 9: Repeat Round 5. Fasten off (note: the fasten-off point marks the bottom edge of the motif; each side edge now has 37 stitches between corner popcorns).
Part 2: Navy Front-Loop Motif Edging & Cream Side Gusset
- 3-Sided Navy FLO Edging (Both Motifs): With RS facing, join Contrast A (Navy) with a
sl stin the front loop only (FLO) of the upper-right corner Popcorn of Round 9. Working in front loops only throughout, work 1 sc in each stitch down the right side to the bottom-right corner Popcorn, work 3 sc in FLO of the corner Popcorn, work 1 sc in FLO of each stitch across the bottom edge to the bottom-left corner Popcorn, work 3 sc in FLO of the corner Popcorn, work 1 sc in FLO of each stitch up the left side to the upper-left corner Popcorn, and work 1 sc in FLO of the upper-left Popcorn. Fasten off. (Top edge of motif remains unworked in Navy.) - Cream Side Gusset (Rows 1–8): With RS of the first Motif facing, locate the remaining unused back loops from the Navy Motif Edging round. Join MC (Cream) with a
sl stin the first remaining back loop, ch 1, work 1 sc in the same loop, and work 1 sc in each remaining back loop all the way around the 3 edged sides of the motif (pushing the Navy FLO stitches forward into a raised ridge). Turn. For Rows 2–8, ch 1 and work1 sc in each scacross. Turn. Do not fasten off after Row 8. - Joining Gusset to Second Motif: Hold the two Motifs with Right Sides facing each other, aligning Row 8 of the Side Gusset with the unused back loops of the second Motif’s Navy Edging round. Working through both thicknesses, join Row 8 of the Side Gusset to the remaining back loops with 1 row of slip stitches (sl st). Fasten off and turn the bag Right Side out.
Part 3: Navy Top Border & One-Piece Shoulder Straps
- Round 1 (RS – Upper Yoke Pickup): Join Contrast A (Navy) with a
sl stat the top of the Navy ridge on the upper-left corner of the front Motif. Ch 1. Work 9 sc evenly across the top edge of the first Side Gusset, 37 sc across the top edge of the front Motif, 9 sc across the top edge of the second Side Gusset, and 37 sc across the top edge of the back Motif. Join withsl stto first sc. (92 sc total) - Rounds 2–7: Ch 1. Work 1 sc in each sc around. Join with
sl stto first sc. (92 sc) - Round 8 (Strap Foundation Chains): Ch 1. Work 1 sc in each of first 15 sc. Ch 51, skip next 25 sc (first handle opening). Work 1 sc in each of next 21 sc. Ch 51, skip next 25 sc (second handle opening). Work 1 sc in each of last 6 sc. Join with
sl stto first sc. - Round 9: Ch 1. Work 1 sc in each sc and in each chain of both ch-51 arches around. Join with
sl stto first sc. (144 sc) - Rounds 10–12: Ch 1. Work 1 sc in each sc around (144 sc). Join with
sl stto first sc, fasten off after Round 12, and weave in all ends.
Save & Print This Crochet Pattern
Prefer working offline or keeping a printed copy in your project bag? Download our formatted Crochet Carry On Tote Bag printable PDF guide below, complete with the full materials table, stitch diagrams, color-key charts, and step-by-step assembly instructions prepared for My Aunty Patterns.
READER COMMENTS & PATTERN QUESTIONS
Have a question about stitch counts, yarn substitutions, or sizing? Leave a comment below — Mary Ward reads and replies to every maker question!