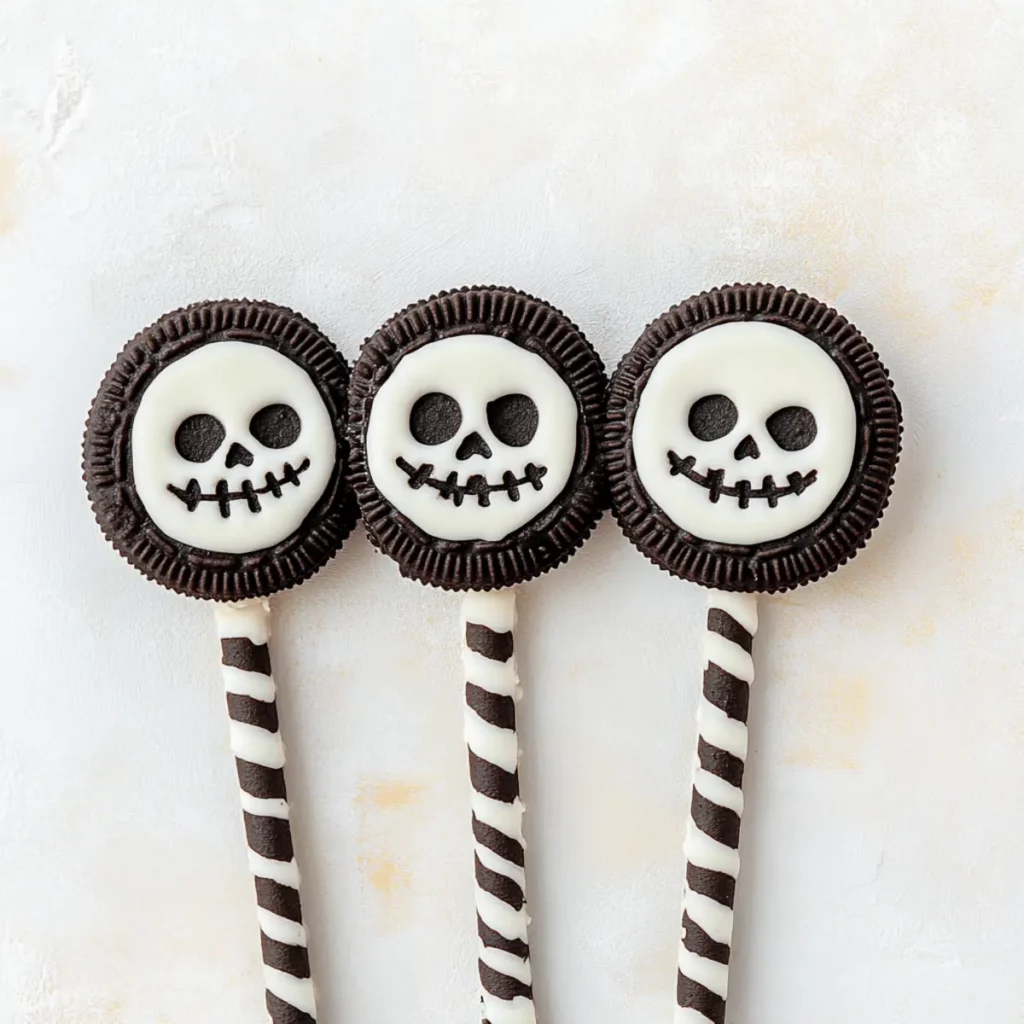
There’s something undeniably delightful about Halloween, where the spookiness meets the sweetness of treats, and nothing captures that spirit quite like Spooky Skeleton Oreos Halloween Dessert. Imagine crunchy Oreo cookies adorned with whimsical skeleton faces, ready to enchant your little ghosts and goblins. Each bite is a fun crunch followed by a rush of creamy filling and just enough sugary icing to send your taste buds dancing in delight.
These treats aren’t just for the kids; they evoke nostalgia for anyone blessed enough to remember the thrill of trick-or-treating. Picture gathering around the kitchen with friends, snickering and sneaking bites as you create these delightful spooky snacks. Whether it’s a Halloween party or simply an excuse to indulge in seasonal fun, these Spooky Skeleton Oreos are here to make every occasion just a little more magical (and delicious).
Why You'll Love This Spooky Skeleton Oreos Halloween Dessert
- This incredible Spooky Skeleton Oreos Halloween Dessert transforms simple everyday ingredients into restaurant-quality flavors that will blow your mind completely.
- Foolproof recipe techniques guarantee perfect results every single time, making even novice cooks feel like professional chefs instantly.
- Stunning visual appeal with gorgeous colors and mouthwatering aromas creates the ultimate Instagram-worthy dish for any special occasion.
- Endlessly adaptable for different dietary needs while working beautifully for meal prep, date nights, or entertaining large groups effortlessly.
Ingredients for Spooky Skeleton Oreos Halloween Dessert
Here’s what you’ll need to make this delicious Spooky Skeleton Oreos Halloween Dessert:
10 Oreos – These classic cookies serve as the foundation of your Halloween treat. Choose your favorite flavor if you want to mix it up!
50-80 g Icing sugar – A sweet, powdered sugar that becomes the base for your delightful skeleton faces. Adjust the amount for desired thickness.
1-2 tsp Cold water – This liquid helps to achieve the perfect icing consistency for decorating your Oreos.
Black icing writing pen – The essential tool for bringing your spooky skeletons to life with sharp, intricate details.
Straws – Use them to create creepy skeleton legs that add a fun, festive twist to your treats.
How to Make Spooky Skeleton Oreos Halloween Dessert
Follow these simple steps to prepare this delicious Spooky Skeleton Oreos Halloween Dessert:
Step 1: Prepare the Icing
Begin by mixing the icing sugar and cold water in a bowl. Blend until you achieve a thick consistency. If it seems a bit runny, gradually add more icing sugar. Alternatively, if it’s a brick, add a drop more water. This mixture will serve as your canvas for decorating.
Step 2: Decorate the Oreos
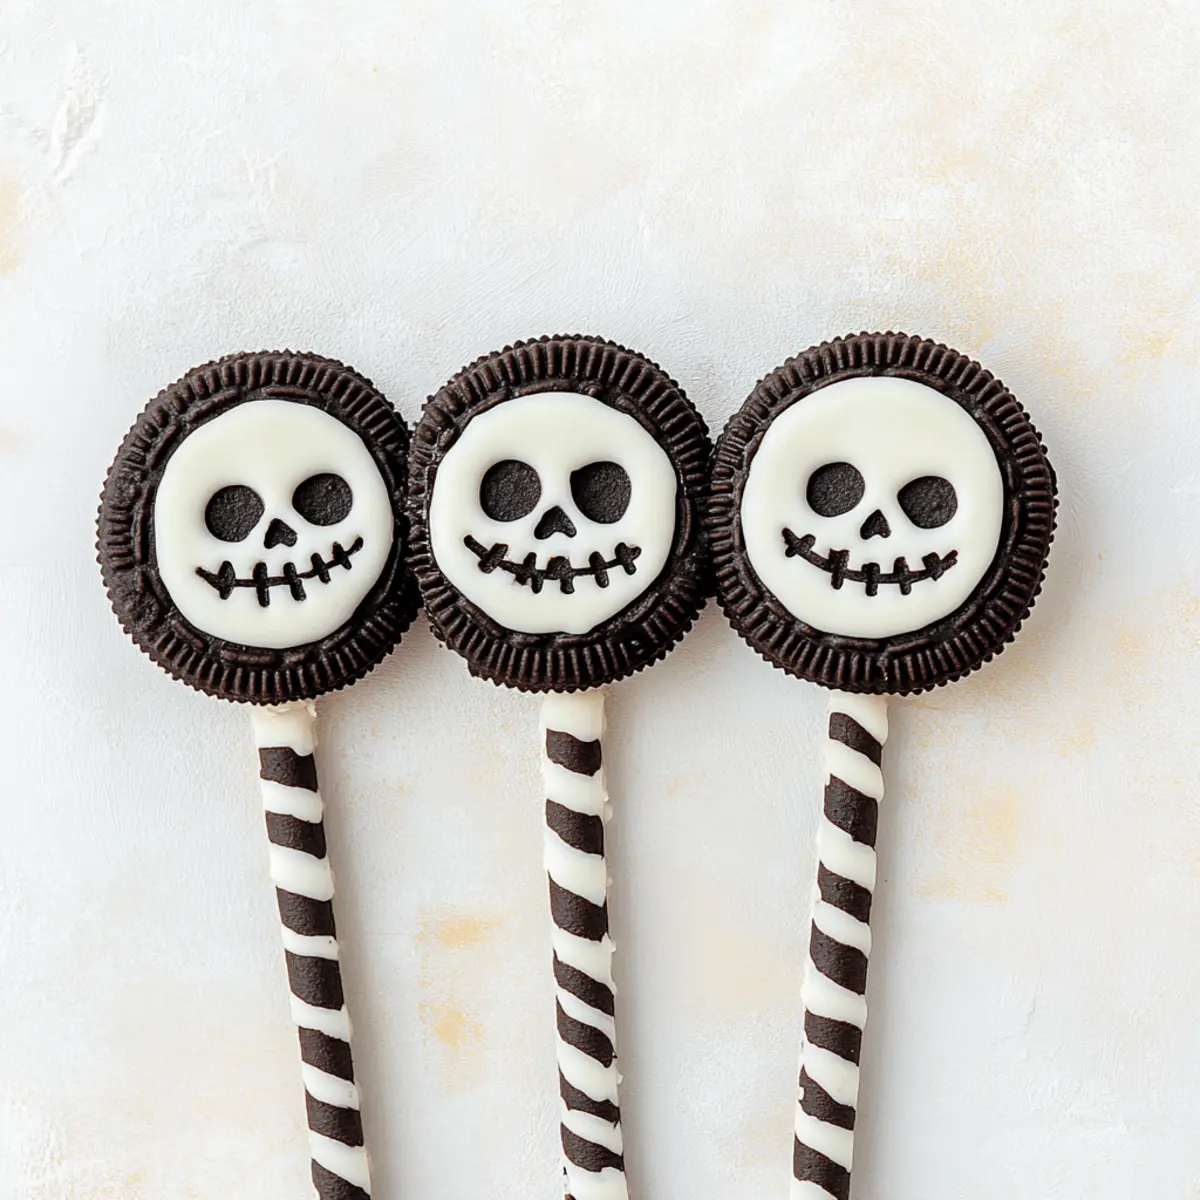
Spoon the thick icing onto each Oreo cookie, covering one side entirely. This will resemble the skull of our spooky skeleton. Allow the icing to set for about 10 minutes—use this time to practice your best ghostly impressions!
Step 3: Draw the Skeleton Faces
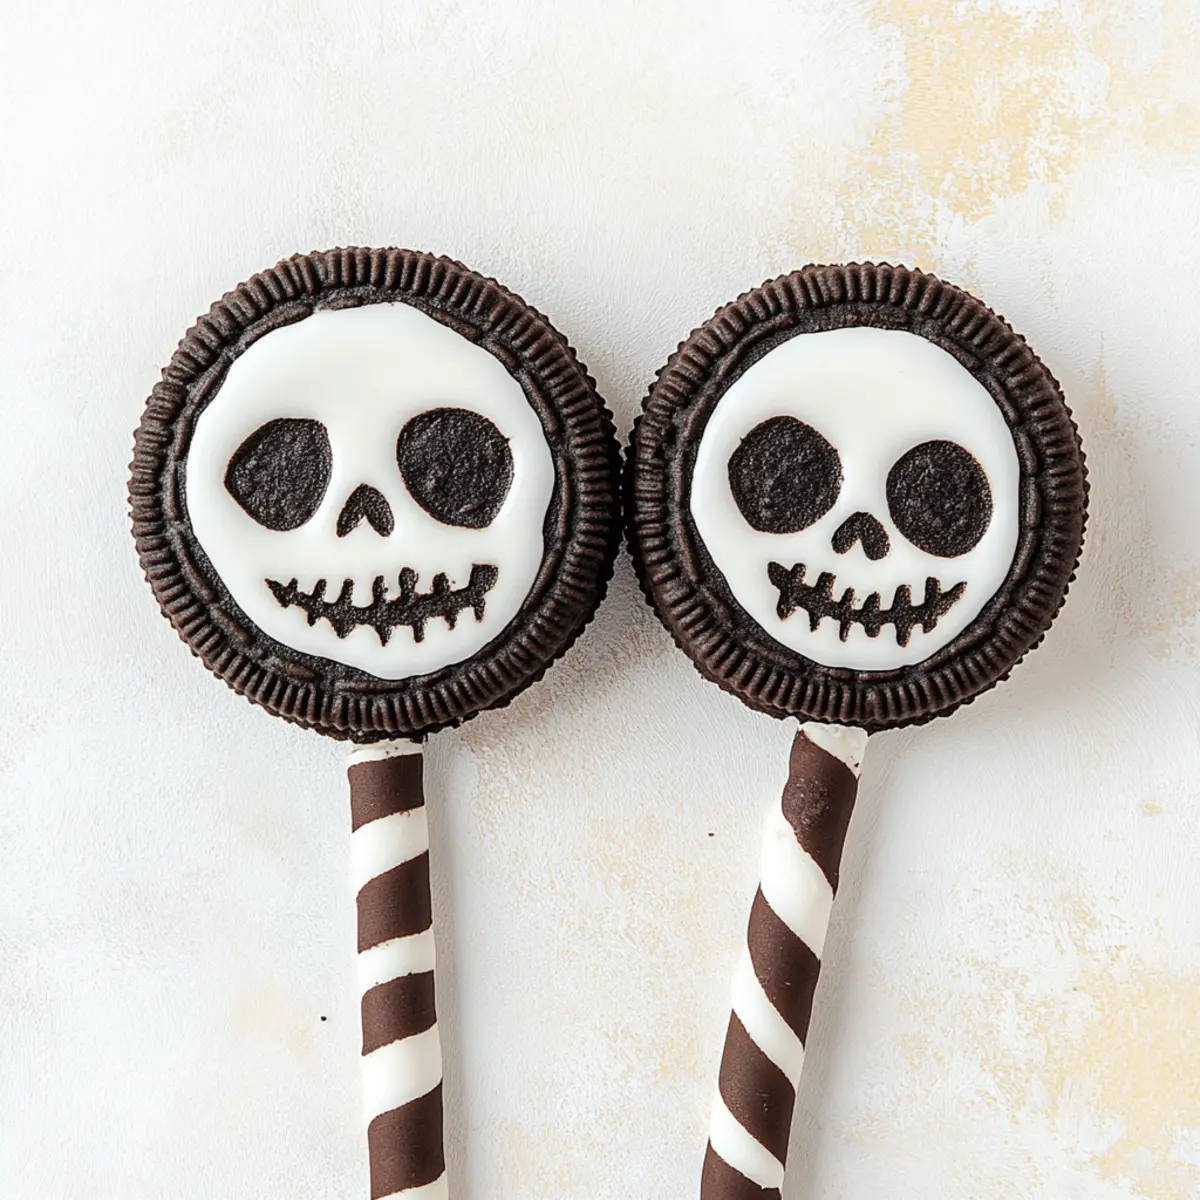
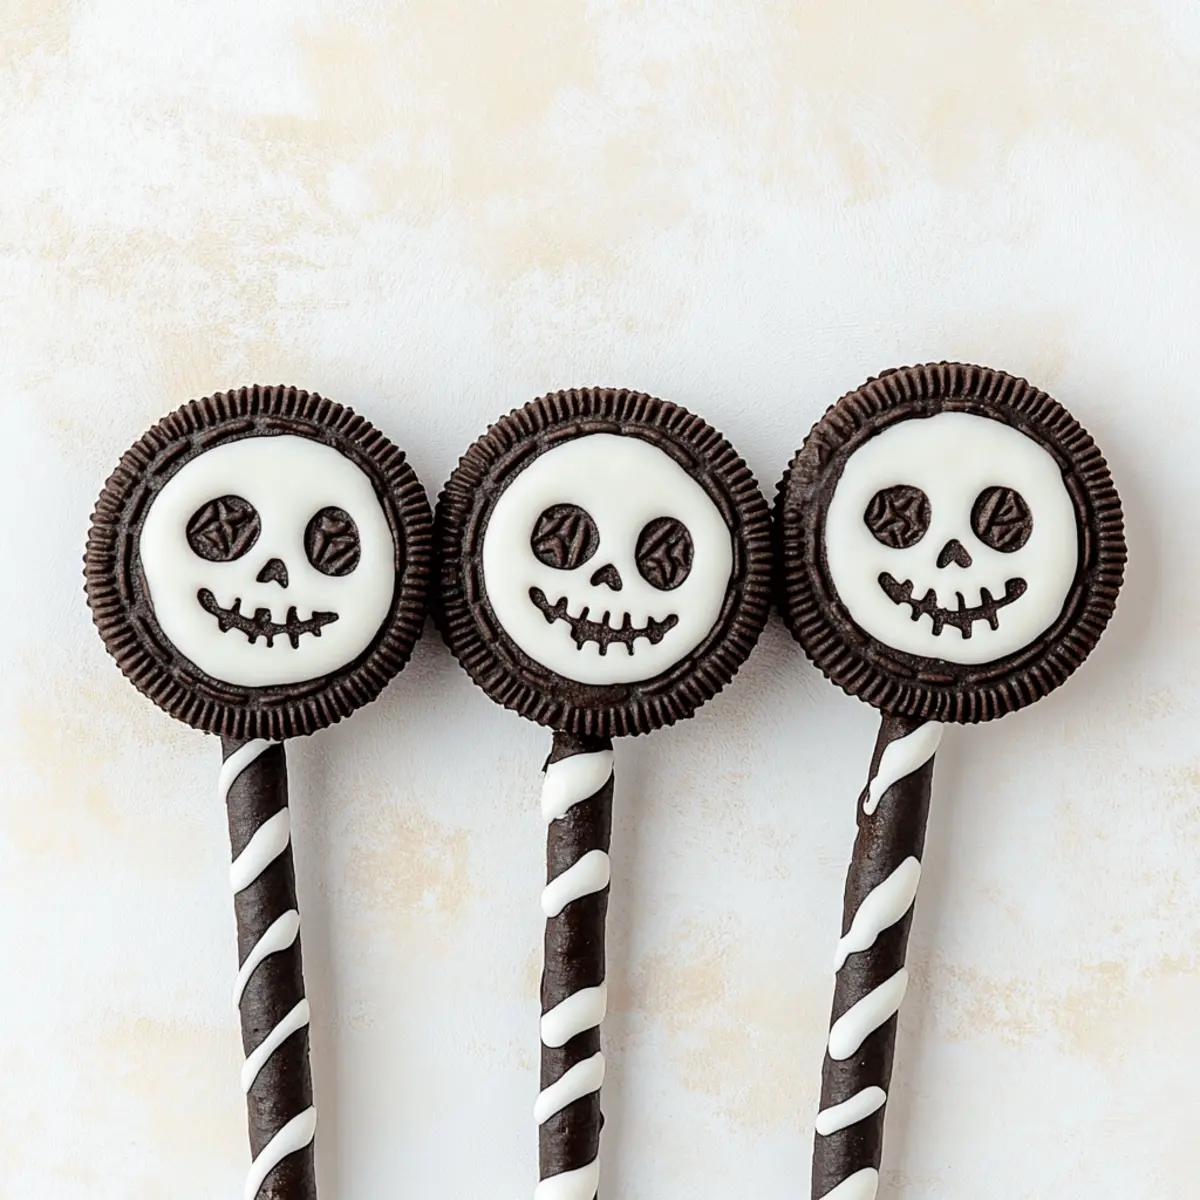
Once the icing is firm, take your black icing pen and begin to draw skeleton faces on top of the white icing. Channel your creativity! Give them silly grins, spooky expressions, or even googly eyes for a goofy twist. The more outrageous, the better!
Step 4: Create the Legs
Now it’s time to give your sweet skeletons some “limbs.” Cut the straws down the middle to make two short legs for each Oreo. Flatten one end of each straw to insert it into the Oreo filling—voilà, skeleton legs that are ready to run away!
Step 5: Storage Tips
Place your decorated Spooky Skeleton Oreos in an airtight container to keep them fresh. At room temperature, they can be stored for up to 5 days. If you can resist, these treats will keep getting better!
Step 6: Serve and Enjoy!
When ready to indulge, lay out your finished Spooky Skeleton Oreos on a festive platter. Watch as your guests’ eyes light up at these creepy delights. Don’t forget to share (or not)! You deserve to enjoy every delicious bite of your handiwork.
Who knew making Halloween treats could be this simple? With just a bit of creativity and some fun decorating, you’re ready to impress your friends and family! These Spooky Skeleton Oreos are not only a blast to make but are bound to be the highlight of your festivities. Enjoy the laughter, the sweetness, and those adorable skeleton faces grinning at you from the plate. Happy Halloween baking!
This showstopping Spooky Skeleton Oreos Halloween Dessert delivers restaurant-quality results using simple ingredients you probably already have at home. The perfect balance of textures and flavors creates an unforgettable dining experience that will have everyone asking for seconds. Picture-perfect presentation with vibrant colors makes this dish absolutely Instagram-worthy and guaranteed to impress any dinner guest. Incredibly versatile recipe that works beautifully for weeknight dinners, meal prep, special occasions, or even outdoor entertaining sessions.
Perfecting Spooky Skeleton Oreos Halloween Dessert Cooking Process
To create the best Spooky Skeleton Oreos Halloween Dessert, start by mixing the icing sugar and water until you reach a thick consistency. While the icing dries for ten minutes, prepare the decorations, ensuring you have everything set up for a smooth assembly process.
Add Your Touch to Spooky Skeleton Oreos Halloween Dessert
Feel free to switch up the Oreos for your favorite cookie, or use colored icing for a more vibrant look. You could also add sprinkles or edible glitter to the design for extra flair during Halloween parties.
Storing & Reheating Spooky Skeleton Oreos Halloween Dessert
Store your Spooky Skeleton Oreos in an airtight container at room temperature for up to five days. If you prefer them chilled, you can keep them in the fridge for a refreshing twist.
Chef's Helpful Tips for Spooky Skeleton Oreos Halloween Dessert
- This professional-quality Spooky Skeleton Oreos Halloween Dessert relies on precise timing and temperature control to achieve restaurant-standard results consistently.
- Master the art of mise en place by prepping all ingredients beforehand, ensuring smooth execution and preventing any last-minute cooking disasters.
- The secret lies in layering flavors throughout the cooking process rather than seasoning only at the end for maximum depth.
- Pro tip: let the finished dish rest for optimal texture and flavor development before serving to hungry guests waiting eagerly.
It was Halloween a few years back when I whipped these up for a spooky gathering. The excited laughter and gasps as my friends saw the cookies transform into skeletons was priceless—one bite, and I knew I had to make these a Halloween tradition.
FAQs About Spooky Skeleton Oreos Halloween Dessert
What is Spooky Skeleton Oreos Halloween Dessert?
Spooky Skeleton Oreos Halloween Dessert is a fun and creative treat perfect for Halloween festivities. This delightful dessert transforms classic Oreos into adorable skeleton faces using just a few simple ingredients: icing sugar, water, and a black icing writing pen. With a prep time of only 15 minutes, you’ll impress your guests with deliciously spooky cookies that are as easy to make as they are to eat.
How do I make Spooky Skeleton Oreos Halloween Dessert?
To create Spooky Skeleton Oreos, start by mixing icing sugar with cold water until you achieve a thick consistency. Spoon the icing onto the Oreo cookies to form skeleton faces and allow them to dry briefly. After that, decorate the icing with a black icing pen to draw fun skeleton features. It’s a straightforward process that results in a delicious and festive snack!
Can I customize my Spooky Skeleton Oreos Halloween Dessert?
Absolutely! One of the best parts about making Spooky Skeleton Oreos Halloween Dessert is that you can personalize it to your liking. Feel free to use different flavors of Oreos or incorporate colorful icing to make them more vibrant. Adding sprinkles or edible glitter will enhance the spooky fun and appeal, making these cookies even more eye-catching!
How should I store Spooky Skeleton Oreos Halloween Dessert?
To keep your Spooky Skeleton Oreos Halloween Dessert fresh, store them in an airtight container at room temperature for up to five days. If you prefer a cooler treat, you can also store them in the fridge! This way, you can enjoy these delightful cookies even in warmer weather, retaining that enjoyable crunch and flavor.
Conclusion for Spooky Skeleton Oreos Halloween Dessert
Spooky Skeleton Oreos Halloween Dessert is a quick and enjoyable treat that adds festive flair to your Halloween celebrations. With simple ingredients and minimal prep time, you can unleash your creativity and delight guests of all ages. This dessert’s charming aesthetics and delicious flavor will make it a hit at any gathering. Don’t miss the chance to create your own Spooky Skeleton Oreos Halloween Dessert and make this Halloween unforgettable!
Spooky Skeleton Oreos Halloween Dessert
Ingredients
Equipment
Method
- Mix together the icing sugar and cold water to make a thick white icing. If the consistency is too runny, add more icing sugar. If too thick, add a drop more water.
- Spoon the icing onto the Oreos to create a skeleton face and leave to dry for about 10 minutes.
- Use the black icing writing pen to draw skeleton faces on top of the icing.
- Cut the straws down the middle to make two short straws, flatten one end, and push it into the Oreo filling.
- Store in an airtight container at room temperature for up to 5 days.