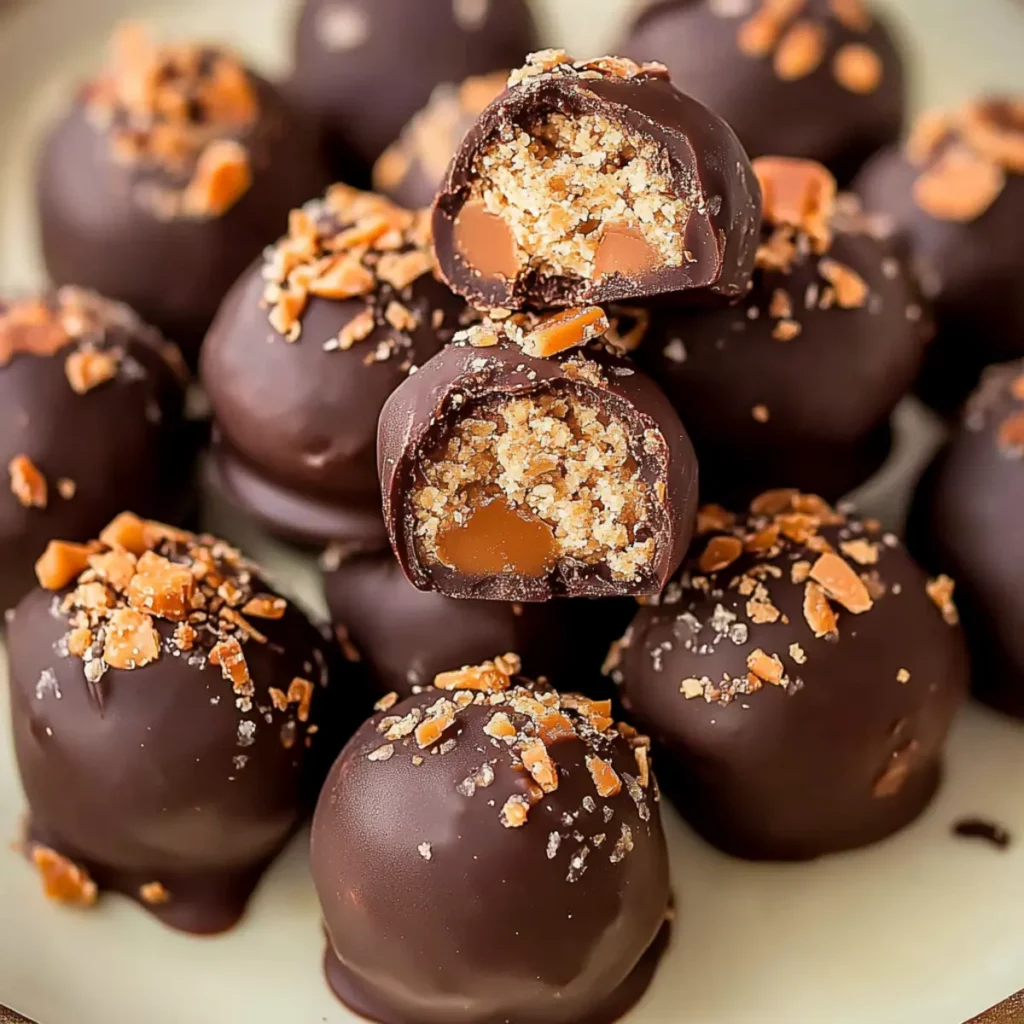
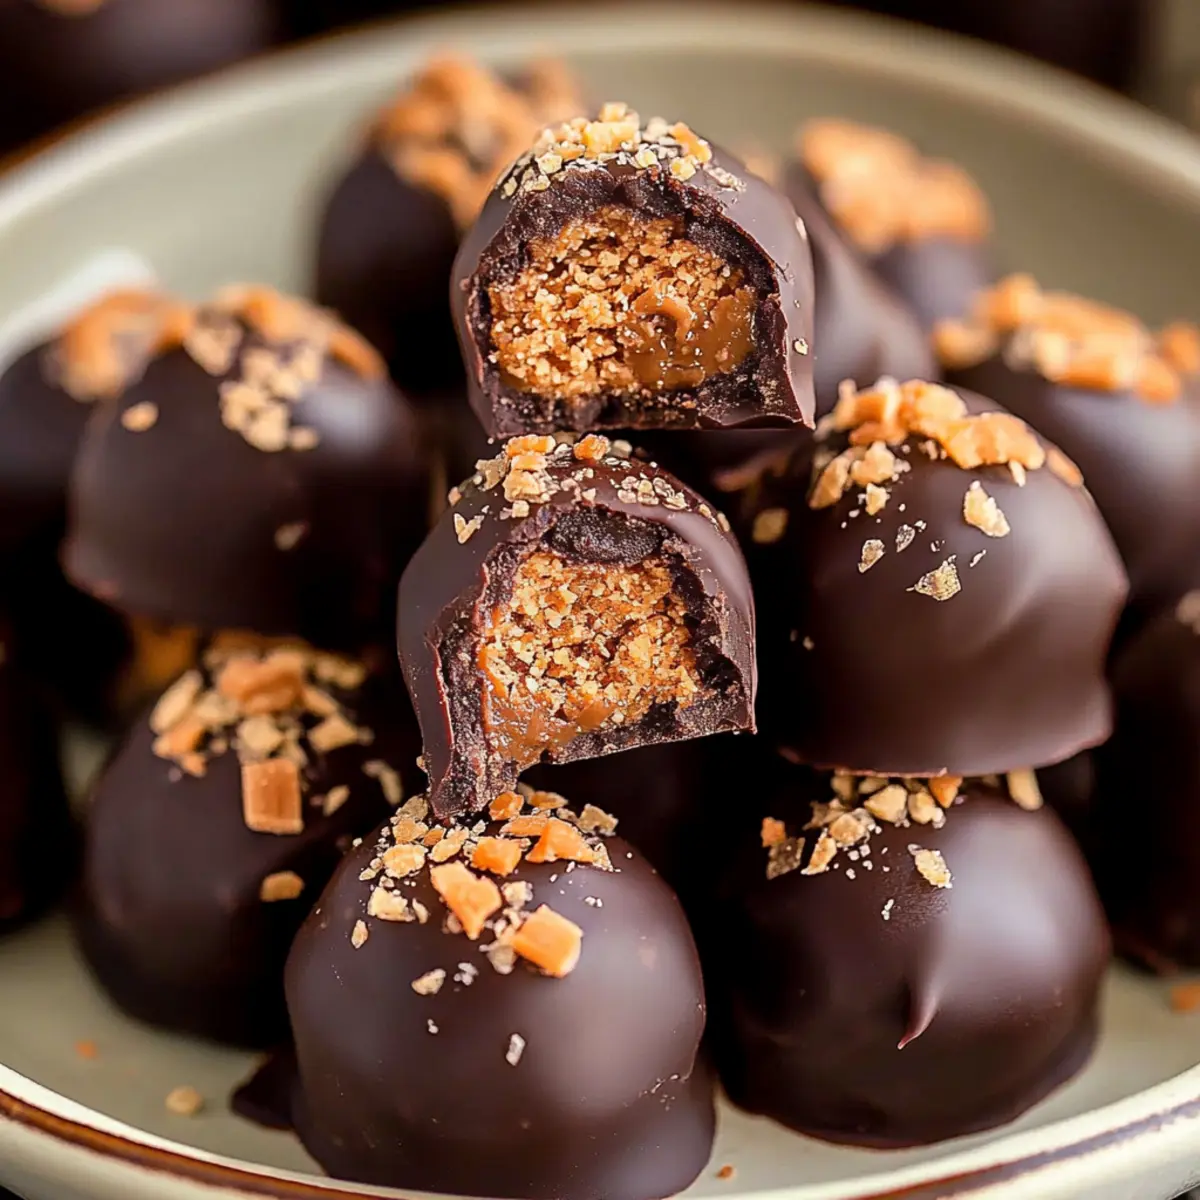
There’s something undeniably delightful about the combination of creamy peanut butter, sweet chocolates, and crunchy bits of Butterfinger. These Easy Butterfinger Balls are not just treats; they’re little bites of joy that bring a wave of nostalgia with every delicious bite. Imagine indulging in this sweet treat while reminiscing about childhood candy runs or the rush of excitement upon finding those yellow Butterfinger wrappers hidden in your trick-or-treat bag.
Whether you’re hosting a movie night, celebrating a birthday, or simply need a sweet pick-me-up after a long day, these Easy Butterfinger Balls serve as the perfect no-bake dessert. With the smooth, rich chocolate covering and the irresistible crunch of Butterfinger bits, there’s no way you won’t be captivated. Get ready for a delightful flavor experience that will have you coming back for seconds!
Why You'll Love This Easy Butterfinger Balls
- This incredible Easy Butterfinger Balls transforms simple everyday ingredients into restaurant-quality flavors that will blow your mind completely.
- Foolproof recipe techniques guarantee perfect results every single time, making even novice cooks feel like professional chefs instantly.
- Stunning visual appeal with gorgeous colors and mouthwatering aromas creates the ultimate Instagram-worthy dish for any special occasion.
- Endlessly adaptable for different dietary needs while working beautifully for meal prep, date nights, or entertaining large groups effortlessly.
Ingredients for Easy Butterfinger Balls
Here’s what you’ll need to make this delicious Easy Butterfinger Balls:
1⅓ cup creamy peanut butter – Choose smooth peanut butter for easy mixing, but natural peanut butter will work too if you’re up for a bit of extra stirring.
½ cup salted butter, softened – Using salted butter adds depth to the sweetness and balances the flavors perfectly.
1 teaspoon vanilla extract – A touch of vanilla intensifies the overall flavor, making every bite unforgettable.
2 cups powdered sugar – This ingredient sweetens the mixture and provides a smooth, creamy texture that makes it easy to roll.
1½ cups Butterfinger Bits – These are the star of the show, adding that signature crunch and flavor we all love. Feel free to crush up regular Butterfingers if bits aren’t available.
3 cups chocolate melting wafers – These melt beautifully and create a smooth, glossy coating for your delicious treats.
How to Make Easy Butterfinger Balls
Follow these simple steps to prepare this delicious Easy Butterfinger Balls:
Step 1: Creaming the Base
In a large bowl or stand mixer, combine the creamy peanut butter, softened salted butter, and vanilla extract. Cream them together on medium speed for about 30 seconds until the mixture is smooth and well combined.
Step 2: Sweeten the Mixture
Sift the powdered sugar into the bowl, adding it gradually to avoid sugar clouds in your kitchen. Mix until the dough comes together and is free of lumps. This part is mesmerizing; it starts off creamy and transforms into something more doughy and slightly thicker.
Step 3: Add the Crunch
Stir in the Butterfinger bits until they are evenly distributed throughout the mixture. With every mix, imagine how these little crunchy treasures will surprise you with their delightful texture amidst the peanut butter goodness.
Step 4: Chilling is Key
Chill the mixture in the refrigerator for about 30 minutes. This step helps the mixture firm up so you can roll it into perfect, bite-sized balls that stand up to the dip ahead.
Step 5: Rolling into Balls
Line a cookie sheet with parchment paper. Using a medium cookie scoop, portion out the chilled peanut butter mixture and roll each portion into a ball. Place these little gems on the parchment paper and return them to the freezer to chill for 20 to 30 minutes. Trust me; the freezing helps the chocolate adhere better later!
Step 6: Melting the Chocolate
While the balls chill, melt the chocolate melting wafers. Use a wide glass and place the wafers inside. Heat on medium power in 30-second intervals, stirring between each interval until the chocolate is completely melted and smooth. It should be as shiny as a new penny!
Step 7: Dipping Time
Once the balls are firm, remove them from the freezer. Use a fork or dipping tool to dip each ball into the melted chocolate, ensuring they are evenly coated. Return the chocolate-covered balls back to the parchment paper.
Step 8: Finishing Touches
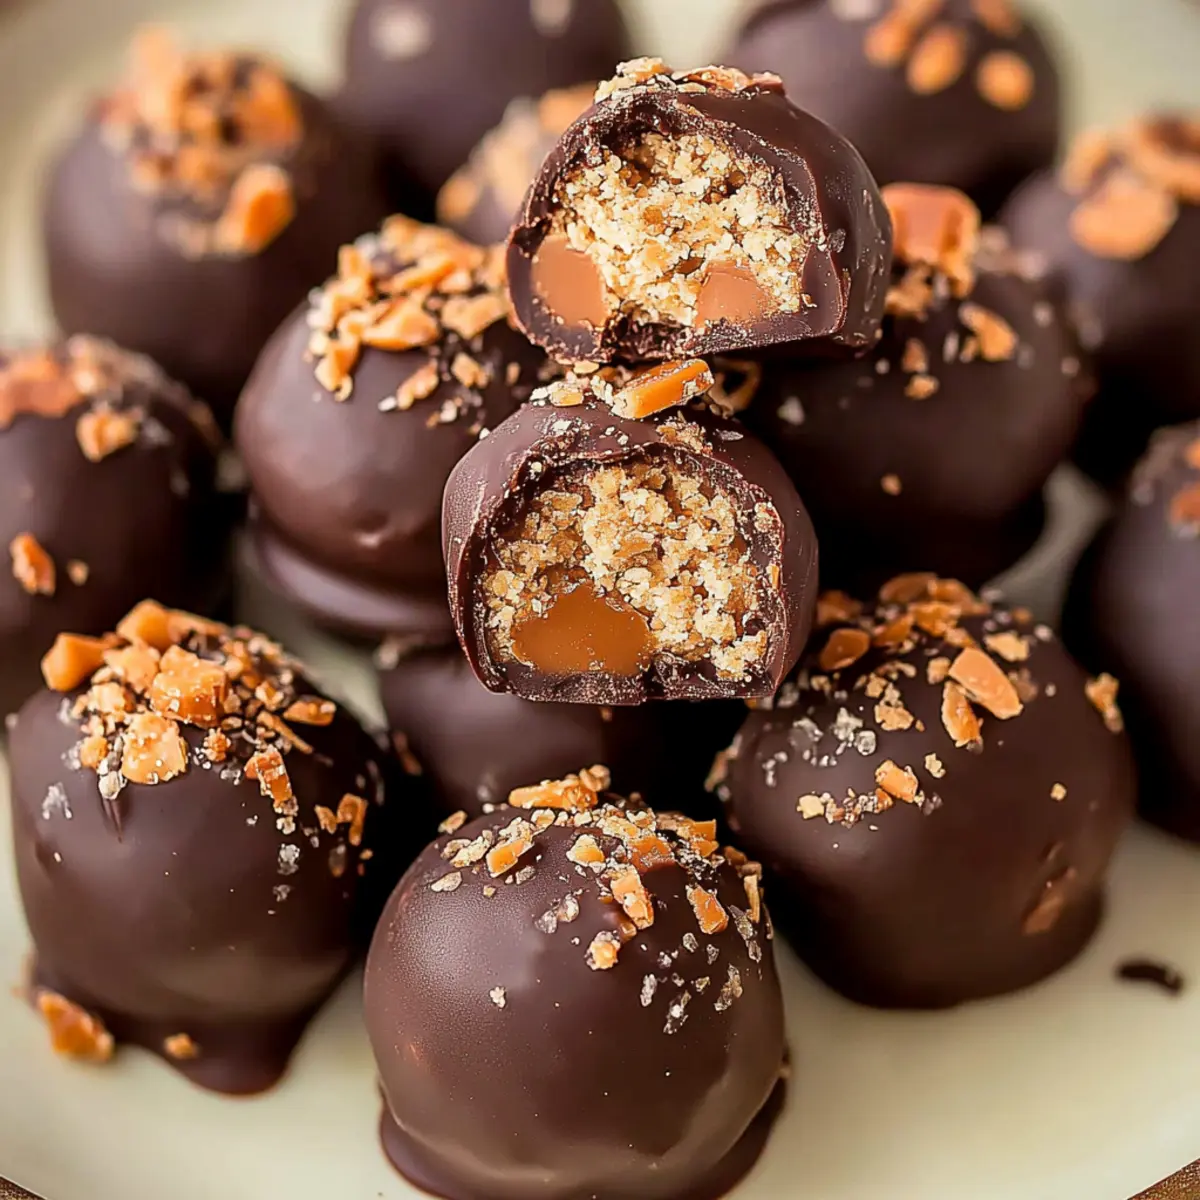
Before the chocolate hardens, sprinkle the tops of the balls with extra Butterfinger Bits for that final touch of crunch and presentation. Allow them to set until the chocolate is fully hard before indulging.
Now that you have created your own batch of Easy Butterfinger Balls, the only question left is what angle you’ll take for that Instagram shot. Remember, these treats are best enjoyed with family and friends, and maybe an afternoon movie! Transfer the balls to a nice serving plate and get ready to see the smiles they bring. Happy snacking!

This showstopping Easy Butterfinger Balls delivers restaurant-quality results using simple ingredients you probably already have at home. The perfect balance of textures and flavors creates an unforgettable dining experience that will have everyone asking for seconds. Picture-perfect presentation with vibrant colors makes this dish absolutely Instagram-worthy and guaranteed to impress any dinner guest. Incredibly versatile recipe that works beautifully for weeknight dinners, meal prep, special occasions, or even outdoor entertaining sessions.
Perfecting Easy Butterfinger Balls Cooking Process
Begin by mixing the peanut butter, softened butter, and vanilla before adding powdered sugar for a smooth base. Once combined, fold in the Butterfinger Bits and chill for easy shaping. Finish by dipping the chilled balls in melted chocolate for that irresistible coating.
Add Your Touch to Easy Butterfinger Balls
Feel free to swap in crunchy peanut butter for extra texture or even add mini marshmallows for a delightfully chewy surprise. You can also experiment with different chocolate coatings, like dark or white chocolate, to customize your flavors.
Storing & Reheating Easy Butterfinger Balls
Store these tasty treats in an airtight container in the refrigerator to maintain freshness for up to a week. To enjoy later, simply take them out and let them sit at room temperature for a few minutes before indulging.
Chef's Helpful Tips for Easy Butterfinger Balls
- This professional-quality Easy Butterfinger Balls relies on precise timing and temperature control to achieve restaurant-standard results consistently.
- Master the art of mise en place by prepping all ingredients beforehand, ensuring smooth execution and preventing any last-minute cooking disasters.
- The secret lies in layering flavors throughout the cooking process rather than seasoning only at the end for maximum depth.
- Pro tip: let the finished dish rest for optimal texture and flavor development before serving to hungry guests waiting eagerly.
During a family gathering, I whipped up a batch of these Easy Butterfinger Balls, and to my surprise, they were gone within minutes. Seeing everyone’s faces light up was a moment I’ll cherish forever.
FAQs About Easy Butterfinger Balls
What is Easy Butterfinger Balls?
Easy Butterfinger Balls are a no-bake treat made primarily with creamy peanut butter, salted butter, and crushed Butterfinger candy bits. This delightful combination results in a rich, decadent dessert that is both fun to make and even more enjoyable to eat. The recipe allows flexibility with ingredients and toppings, making these sweet balls perfect for any occasion. They are coated in chocolate and can be topped with more Butterfinger bits or even nuts for an added crunch.
How do I store Easy Butterfinger Balls?
To keep your Easy Butterfinger Balls fresh, store them in an airtight container in the refrigerator. This will help maintain their delicious taste and texture. They can last up to a week in the fridge, but trust me, they probably won’t last that long! Once you’re ready to indulge again, just let them sit at room temperature for a few minutes to soften slightly before enjoying.
Can I customize Easy Butterfinger Balls?
Absolutely! One of the best parts about making Easy Butterfinger Balls is how customizable they are. You can use crunchy peanut butter instead of creamy for an exciting texture, mix in mini marshmallows for chewy surprises, or even try different chocolate coatings like dark, milk, or white chocolate. Feel free to experiment with additional toppings as well, such as crushed nuts or festive sprinkles to match the occasion.
How long does it take to make Easy Butterfinger Balls?
The prep time for Easy Butterfinger Balls is approximately 30 minutes, followed by chilling time to help them set properly. Overall, you’ll want to allocate about 1.5 hours, including time in the freezer, depending on how firm you prefer them. Just be patient, as the deliciousness will definitely be worth the wait!
Conclusion for Easy Butterfinger Balls
In summary, Easy Butterfinger Balls are a delightful treat that will surely become a favorite in your home. With their creamy peanut butter base, sweet Butterfinger bits, and rich chocolate coating, these no-bake delights are both simple to prepare and absolutely irresistible. Whether you’re prepping for a gathering or just indulging your sweet tooth, the Easy Butterfinger Balls are a perfect choice that guarantees smiles and satisfied cravings. Enjoy every bite of these delicious treats!
Easy Butterfinger Balls
Ingredients
Equipment
Method
- Add the peanut butter, butter, and vanilla to a large bowl or stand mixer and cream together for 30 seconds.
- Sift the powdered sugar into the bowl and beat until smooth.
- Mix in the Butterfinger Bits until incorporated.
- Chill the mixture in the refrigerator for 30 minutes.
- Line a cookie sheet with parchment paper and portion the peanut butter mixture out with a medium cookie scoop and roll into balls.
- Place them on the cookie sheet and chill in the freezer for 20 to 30 minutes.
- Just before removing the balls from the freezer, melt the chocolate melting wafers in a wide glass on 30-second intervals, stirring between each, until fully melted.
- Use a fork or dipping tool to dip them in the melted chocolate then place them back on the parchment paper.
- Sprinkle the tops of the balls with Butterfinger Bits and allow them to set until the chocolate hardens.