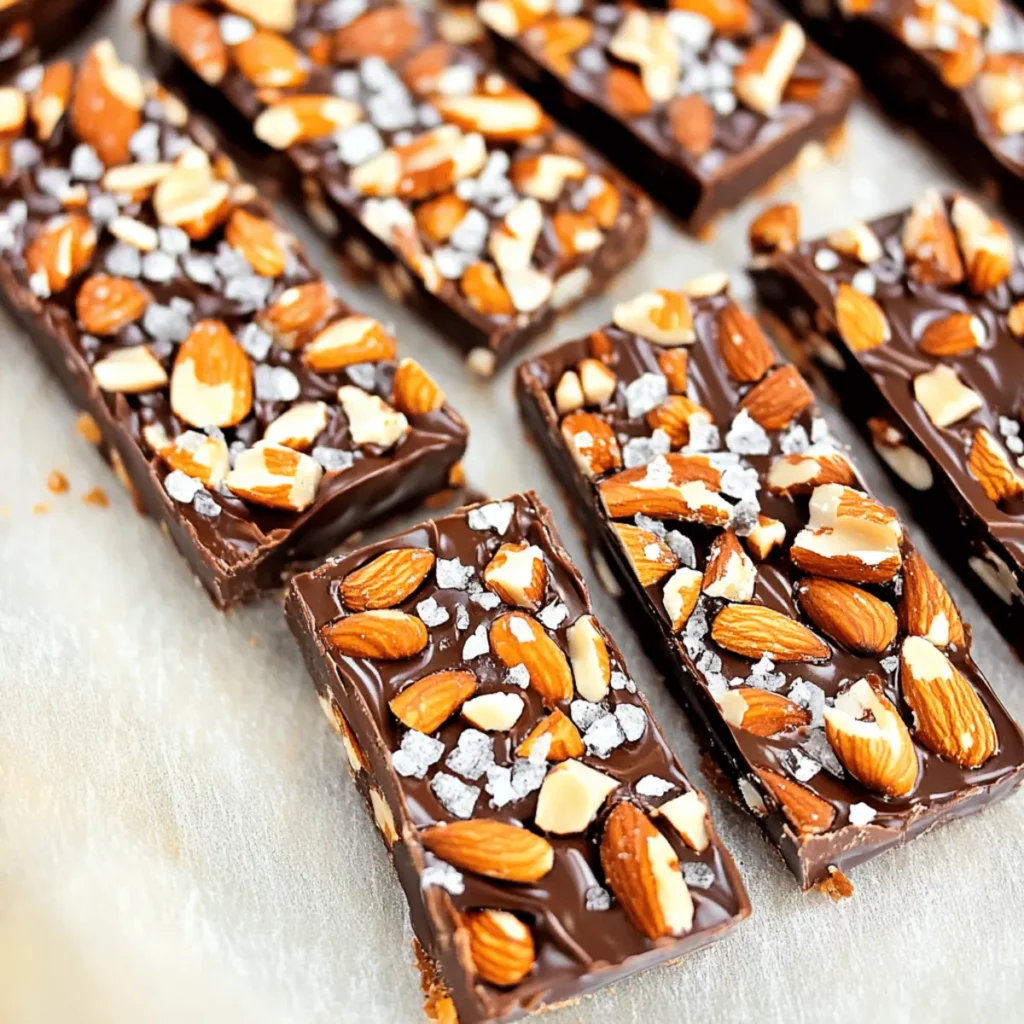
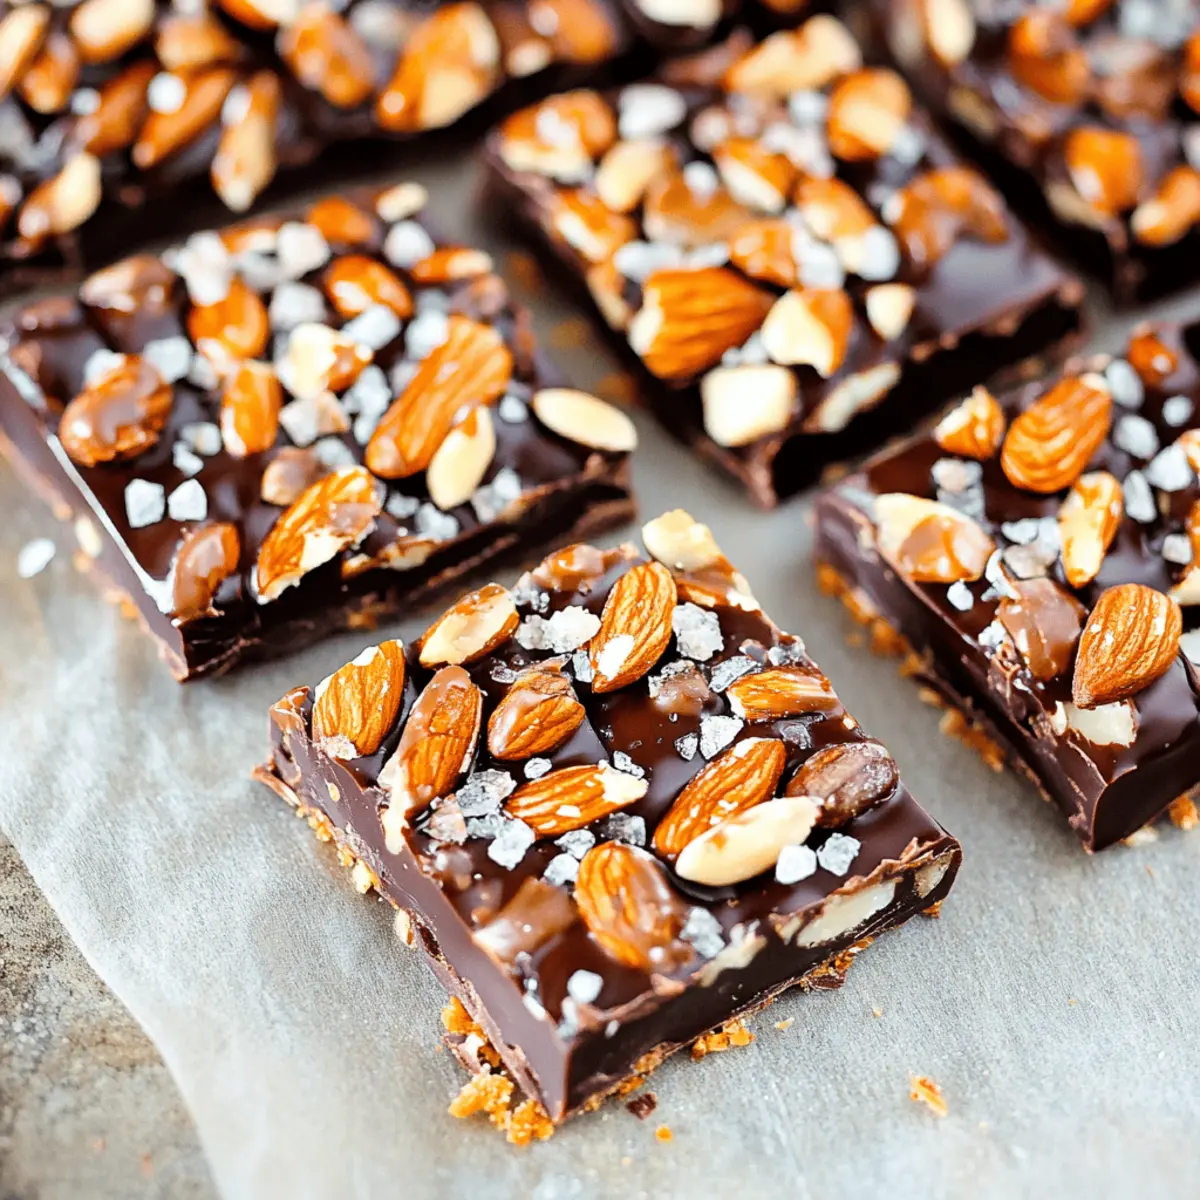
The moment you sink your teeth into a homemade Dark Chocolate Sea Salt Nut Bar, a symphony of rich chocolate and crunchy nuts drowns out the chaotic noise of the world. There’s something absolutely magical about snacking on these delightful creations; they’re the kind of treats that make you pause, savor the moment, and perhaps even dance a little in your kitchen. Imagine the satisfying crackle of brown rice crisp cereal mingling with the creamy, melted chocolate and the unexpected pop of sea salt. These nut bars aren’t just tasty; they’re a wonderful collision of textures and flavors, perfect for any time of day.
Remember the first time you tasted something so divine it made your heart skip a beat? That’s what these Dark Chocolate Sea Salt Nut Bars are all about! Whipping them up is almost effortless, which means you’ll be chatting with friends or savoring a peaceful afternoon snack in no time. Perfect for parties, lunch boxes, or simply indulging on the couch while binge-watching your favorite show, these bars promise an exciting flavor journey that’s hard to resist.
Why You'll Love This Dark Chocolate Sea Salt Nut Bars
- This amazing Dark Chocolate Sea Salt Nut Bars offers more than just flavor; it makes meal prep a breeze.
- You can easily customize the ingredients based on what you have on hand.
- The vibrant colors and aromas make it visually stunning on any dinner table.
- Perfect for grilling but versatile enough for baking or pan-searing.
Ingredients for Dark Chocolate Sea Salt Nut Bars
Here’s what you’ll need to make this delicious Dark Chocolate Sea Salt Nut Bars:
1 cup almonds – Use raw almonds for the best crunch. If you have a nut allergy, feel free to substitute with sunflower seeds.
½ cup peanuts – Peanuts add creaminess; opt for unsalted to better control the flavor.
½ cup brown rice crisp cereal – This ingredient offers that delightful crunch and lightness to the bars.
¼ teaspoon sea salt – A hint of salt amplifies the sweet and nutty flavors deliciously.
¼ cup pure maple syrup – This natural sweetener adds a lovely depth of flavor and helps bind the ingredients.
1/3 cup vegan chocolate chips – Choose high-quality chocolate for that indulgent richness.
½ teaspoon coconut oil – This keeps the chocolate smooth and helps it to adhere to the bars beautifully.
3 tablespoons vegan chocolate chips – More chocolate means more happiness!
¼ teaspoon coconut oil – Just a smidge more for that silky, pourable chocolate drizzle.
Sea salt, for topping – A delicate sprinkle right after drizzling to tantalize the taste buds.
How to Make Dark Chocolate Sea Salt Nut Bars
Follow these simple steps to prepare this delicious Dark Chocolate Sea Salt Nut Bars:
Step 1: Preheat the Oven
First things first—preheat your oven to 325°F (165°C). This is the perfect temperature for making sure our bars get that lovely golden-brown color. Line an 8-inch square baking pan with parchment paper so you won’t be wrestling with sticky bars later.
Step 2: Mix the Crunchy Ingredients
In a large bowl, add the almonds, peanuts, crispy cereal, and sea salt. Give it a good stir—this is where the magic begins as all those nutty flavors mingle together.
Step 3: Sweeten the Deal
Pour the maple syrup over your nut mixture. Make sure to fold the ingredients together gently but thoroughly so every delicious morsel gets a taste of that sweet goodness.
Step 4: Bake the Bars
Carefully pour the mixture into your prepared baking pan. Using a rubber spatula, press it down into an even layer—be assertive; these need to be tightly packed! Pop it in the oven for about 30-40 minutes. The aim is to achieve a firm texture; otherwise, they might crumble apart when you nibble on them later.
Step 5: Cool it Down
Patience is key here. Allow your nut bars to cool for about an hour. Once they’re nice and cool, gently lift them from the pan using the parchment paper and slice them into 12 bars, two columns down and six rows across.
Step 6: Melt the Chocolate
Melt the chocolate for the coating in a microwave-safe bowl. Heat it in 15-second increments, stirring each time until it’s completely smooth.
Step 7: Dipping Delight
Take each bar and dip the bottom into the melted chocolate goodness, scraping off the excess on the bowl’s edge. Place each dipped bar onto a lined baking sheet.
Step 8: Drizzle and Sprinkle
Melt the drizzle ingredients the same way you did earlier. Fill a zip bag with the melted chocolate, snip off the tiniest corner, and go wild with a zigzag drizzle on each bar. Don’t forget to top with that extra sprinkle of sea salt—it’s all about balancing the sweet and salty flavors.
Step 9: Freeze for Perfection
Pop those bars in the freezer and let them sit for about 10-20 minutes until the chocolate is hardened. And voila, your delectable Dark Chocolate Sea Salt Nut Bars are now ready for enjoyment!
These delightful treats are not only delicious but also packed with nutrients, making them a guilt-free indulgence. Set them out on a platter during your next gathering or keep them all to yourself—no judgment here! Whether you grab one as a quick breakfast, a mid-afternoon snack, or a post-dinner treat, they won’t disappoint. Enjoy every crunchy, chocolatey bite!

You Must Know About Dark Chocolate Sea Salt Nut Bars
- This amazing Dark Chocolate Sea Salt Nut Bars offers more than just flavor; it makes meal prep a breeze.
- You can easily customize the ingredients based on what you have on hand.
- The vibrant colors and aromas make it visually stunning on any dinner table.
- Perfect for a quick snack, but versatile enough for breakfast or dessert.
Perfecting Dark Chocolate Sea Salt Nut Bars Cooking Process
Start by evenly mixing the nuts and cereal before adding the sticky sweet maple syrup to bind it all together. Arrange everything into the baking pan while it is still warm, ensuring a tight pack for the best cohesion.
Add Your Touch to Dark Chocolate Sea Salt Nut Bars
Feel free to swap almonds for cashews or pecans for a unique flavor twist. Want a little heat? Add a pinch of cayenne or chia seeds for extra nutritional value. Customize the sweetness with honey if you’re not strictly vegan.
Storing & Reheating Dark Chocolate Sea Salt Nut Bars
Store your Dark Chocolate Sea Salt Nut Bars in an airtight container at room temperature for up to a week. For longer freshness, keep them in the fridge. Just enjoy them at room temperature for the best flavor.
Chef's Helpful Tips for Dark Chocolate Sea Salt Nut Bars
- For perfectly chewy nut bars, don’t skip the cooling step after baking—this step is essential!
- Tightly pack the nut mixture for sturdy bars.
- Experiment with different nut combinations for diverse flavors!
Sometimes, I marvel at how a simple recipe can turn into a cherished favorite among my family and friends. My cousin once claimed these bars saved her from a snack attack during a road trip, bringing us endless giggles!
FAQs About Dark Chocolate Sea Salt Nut Bars
What are Dark Chocolate Sea Salt Nut Bars?
Dark Chocolate Sea Salt Nut Bars are delicious, wholesome snacks made with a blend of nuts, crisp cereal, and sweet maple syrup. They are topped with a rich layer of dark chocolate and a sprinkle of sea salt, creating a delightful contrast of flavors. Packed with protein and fiber, these nut bars are perfect for energy-boosting snacks or even a quick breakfast. They are easy to make at home, allowing you to control the ingredients and adapt the recipe to suit your tastes.
How do I make Dark Chocolate Sea Salt Nut Bars at home?
Making Dark Chocolate Sea Salt Nut Bars at home is a straightforward process. Begin by mixing nuts, crisp cereal, and salt in a large bowl, then fold in maple syrup for sweetness. Bake the mixture, let it cool, and then dunk the bars in melted chocolate. A drizzle of additional chocolate and a sprinkle of sea salt finalize the treat. With just a few ingredients and steps, you can whip up these bars in no time!
How should I store Dark Chocolate Sea Salt Nut Bars?
To keep your Dark Chocolate Sea Salt Nut Bars fresh, store them in an airtight container at room temperature for about a week. For longer storage, place them in the refrigerator. Enjoy them at room temperature for the best flavor and texture. If you find you have a lot of bars, you can also freeze them; just place them in a freezer-safe bag or container for up to three months for later enjoyment.
Can I customize the ingredients in Dark Chocolate Sea Salt Nut Bars?
Absolutely! One of the best aspects of Dark Chocolate Sea Salt Nut Bars is their versatility. You can swap out almonds for your favorite nuts, like walnuts or pecans. Additionally, if you prefer different cereals, use whatever you have on hand. For added sweetness, try using honey instead of maple syrup. With endless possibilities, you can tailor these bars to fit any taste or dietary requirement easily!
Conclusion for Dark Chocolate Sea Salt Nut Bars
Dark Chocolate Sea Salt Nut Bars are not just a delicious treat; they are also practical for meal prep and snacking. With simple ingredients and easy prep steps, you can create a delightful, nutritious snack that your friends and family will love. Whether you’re indulging in a road trip or just need an afternoon boost, these bars have you covered. Don’t hesitate to whip up a batch of Dark Chocolate Sea Salt Nut Bars and enjoy their rich taste and satisfying crunch!

Dark Chocolate Sea Salt KIND Nut Bars
Ingredients
Equipment
Method
- Preheat oven to 325°F. Line an 8-inch square baking pan with parchment paper. Set aside.
- Add almonds, peanuts, cereal, and salt to a large bowl. Stir until well mixed. Pour maple syrup over this mixture. Fold until well incorporated.
- Pour this mixture into the prepared baking pan. Using a rubber spatula, smooth into a tightly packed, even layer. Bake for 30-40 minutes (35 minutes recommended). Bars must bake thoroughly to hold together when cooled.
- Allow to cool for 1 hour or until completely cooled. Use a heatproof spatula to gently lift and loosen bars from parchment. Slice into 12 bars (6 rows by 2 columns).
- Line a large baking sheet with parchment paper or wax paper and clear some room in the freezer. Set the sheet in a clear work area.
- Melt the chocolate for the coating in a medium microwave-safe bowl. Heat in the microwave in 15-second increments until softened and melted. Stir until smooth.
- Dip the bottom of one bar into the melted chocolate, scraping off excess on the side of the bowl. Place on the prepared baking sheet. Repeat until all bars are dipped.
- For the drizzle, melt the chocolate drizzle ingredients in a clean microwave-safe bowl following the heating instructions. Spoon melted chocolate into a zip bag with a tiny corner snipped off. Drizzle each bar in a zigzag pattern and sprinkle with sea salt.
- Place bars carefully into the freezer. Freeze for 10-20 minutes, or until chocolate is completely hardened. Enjoy!